McCree
With just over a month until Katsucon 2017, I decided I wanted to begin an ambitious new cosplay. In order to keep my schedule on track between personal commitments and my full-time day-job, I planned out a schedule for completing the bulk of the work across the remaining days before the convention to ensure it would be finished in time.
Process and materials used:
- Thermoplastic sculpting
- LED wiring
- Molding and casting
- Sewing
Photos
Also featuring Sam wearing my Junkrat costume!
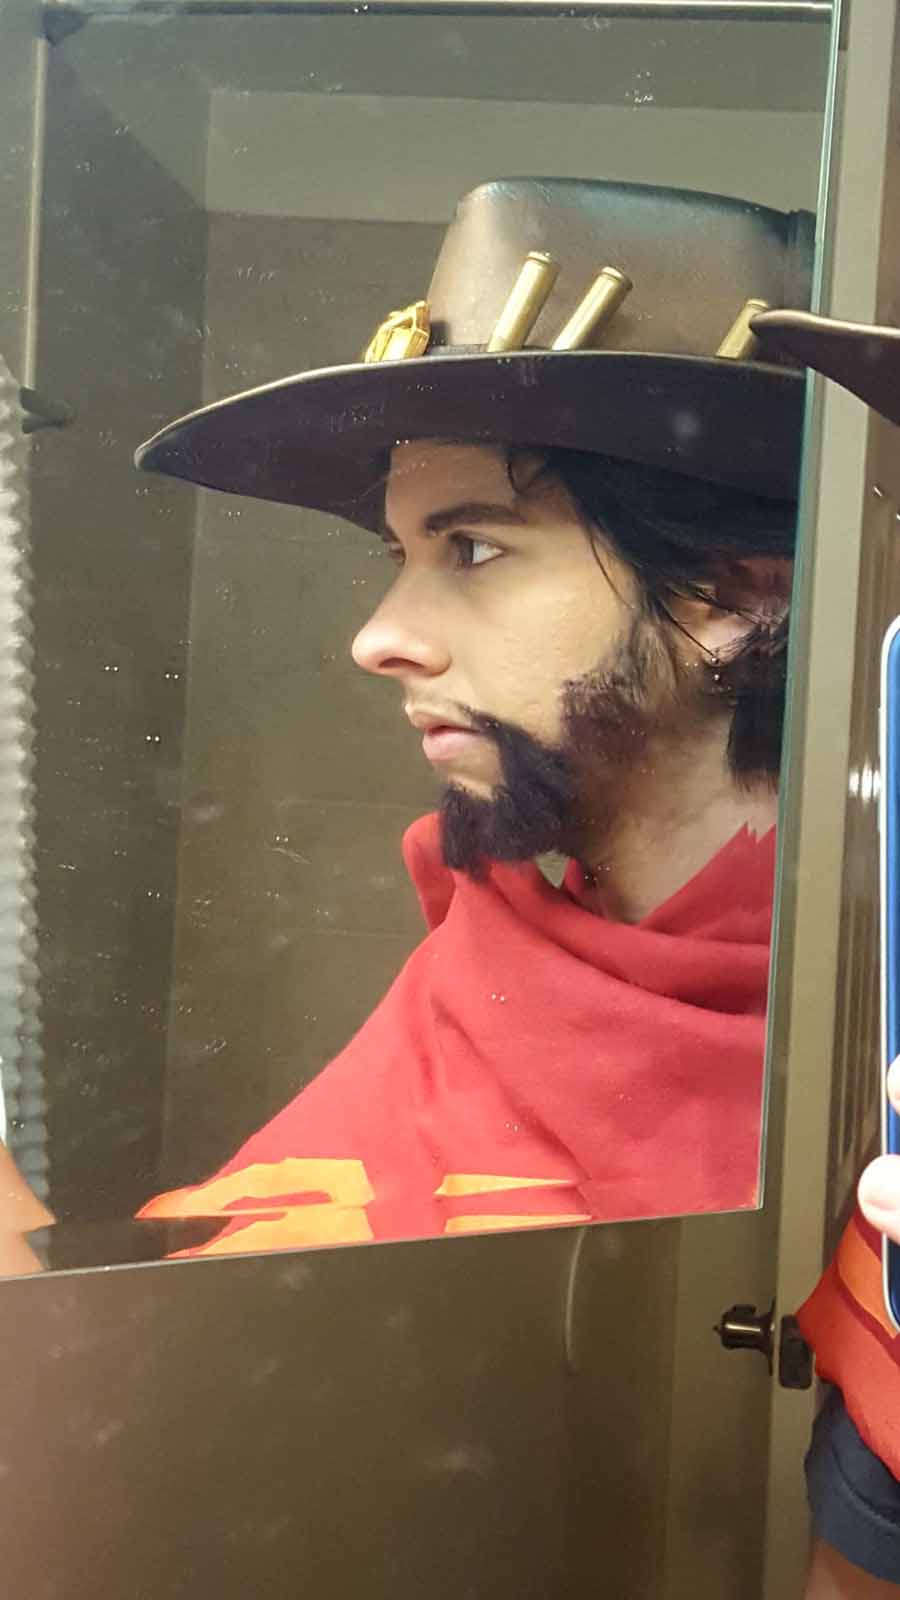
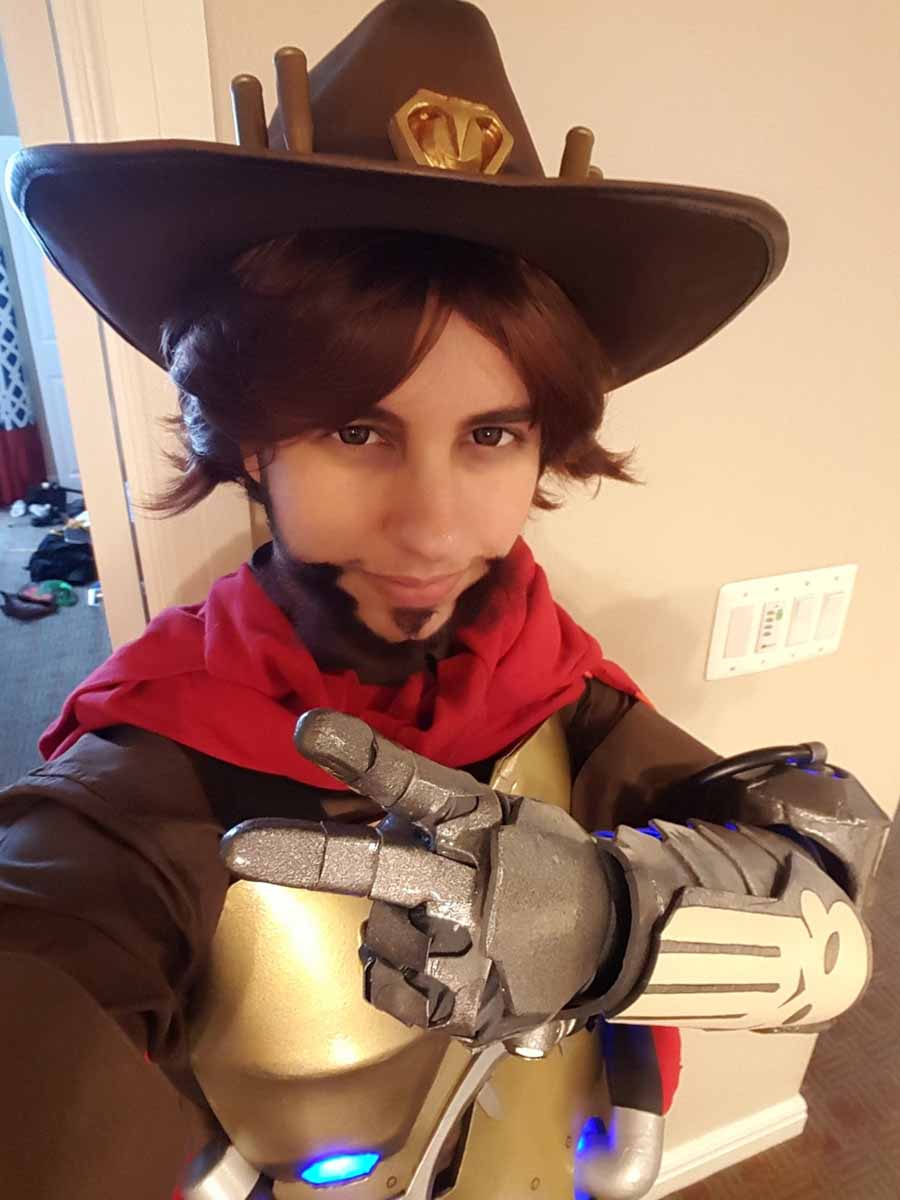
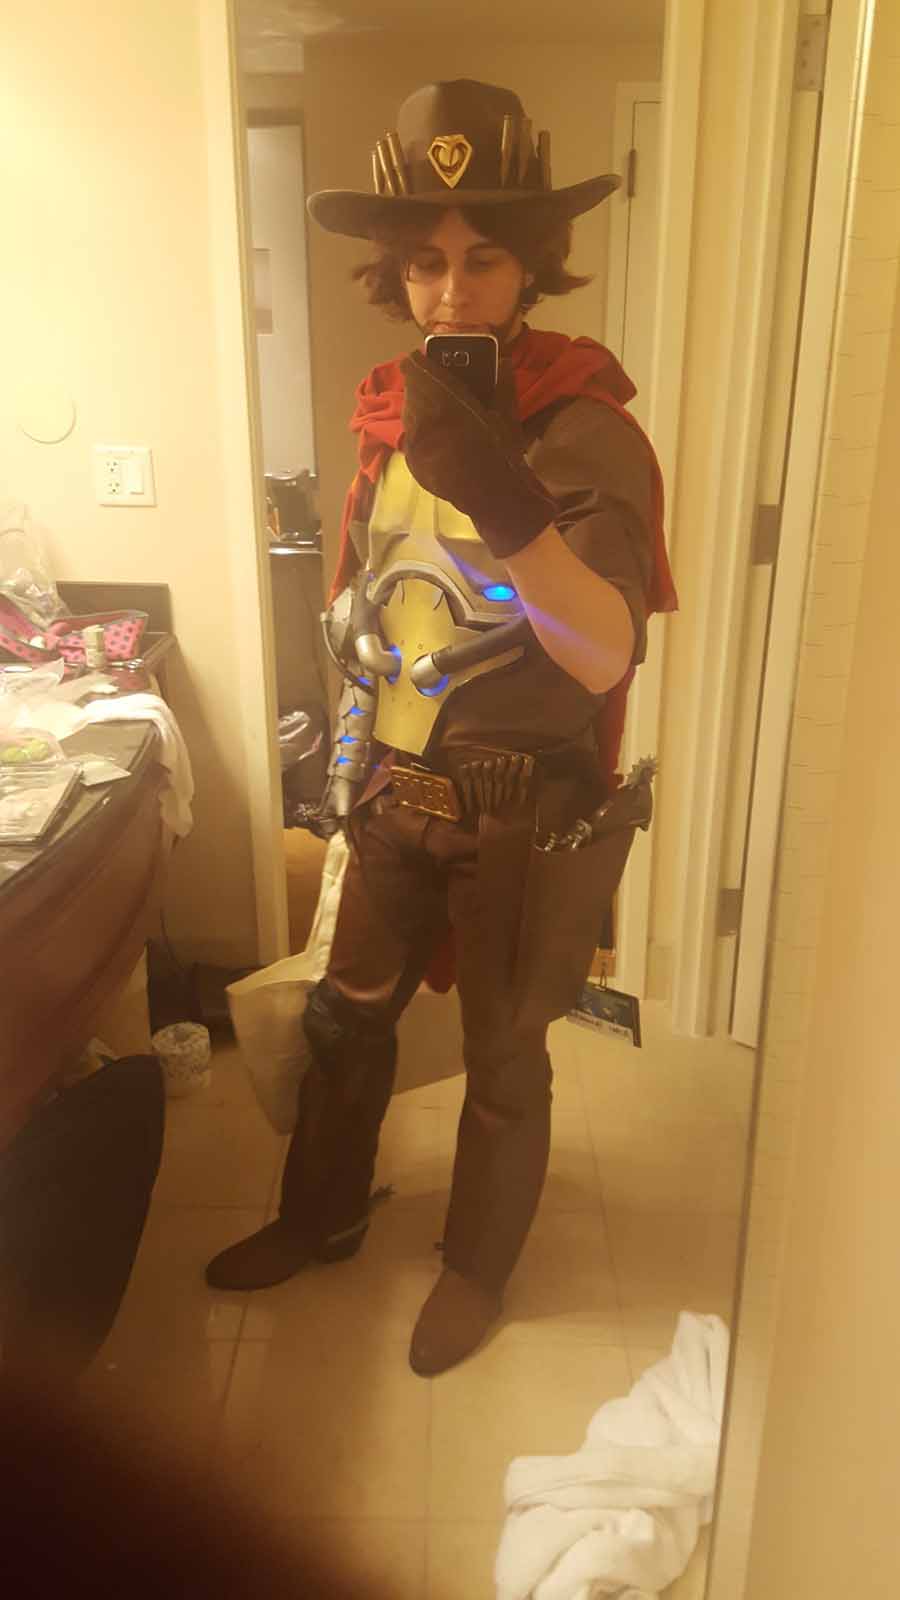
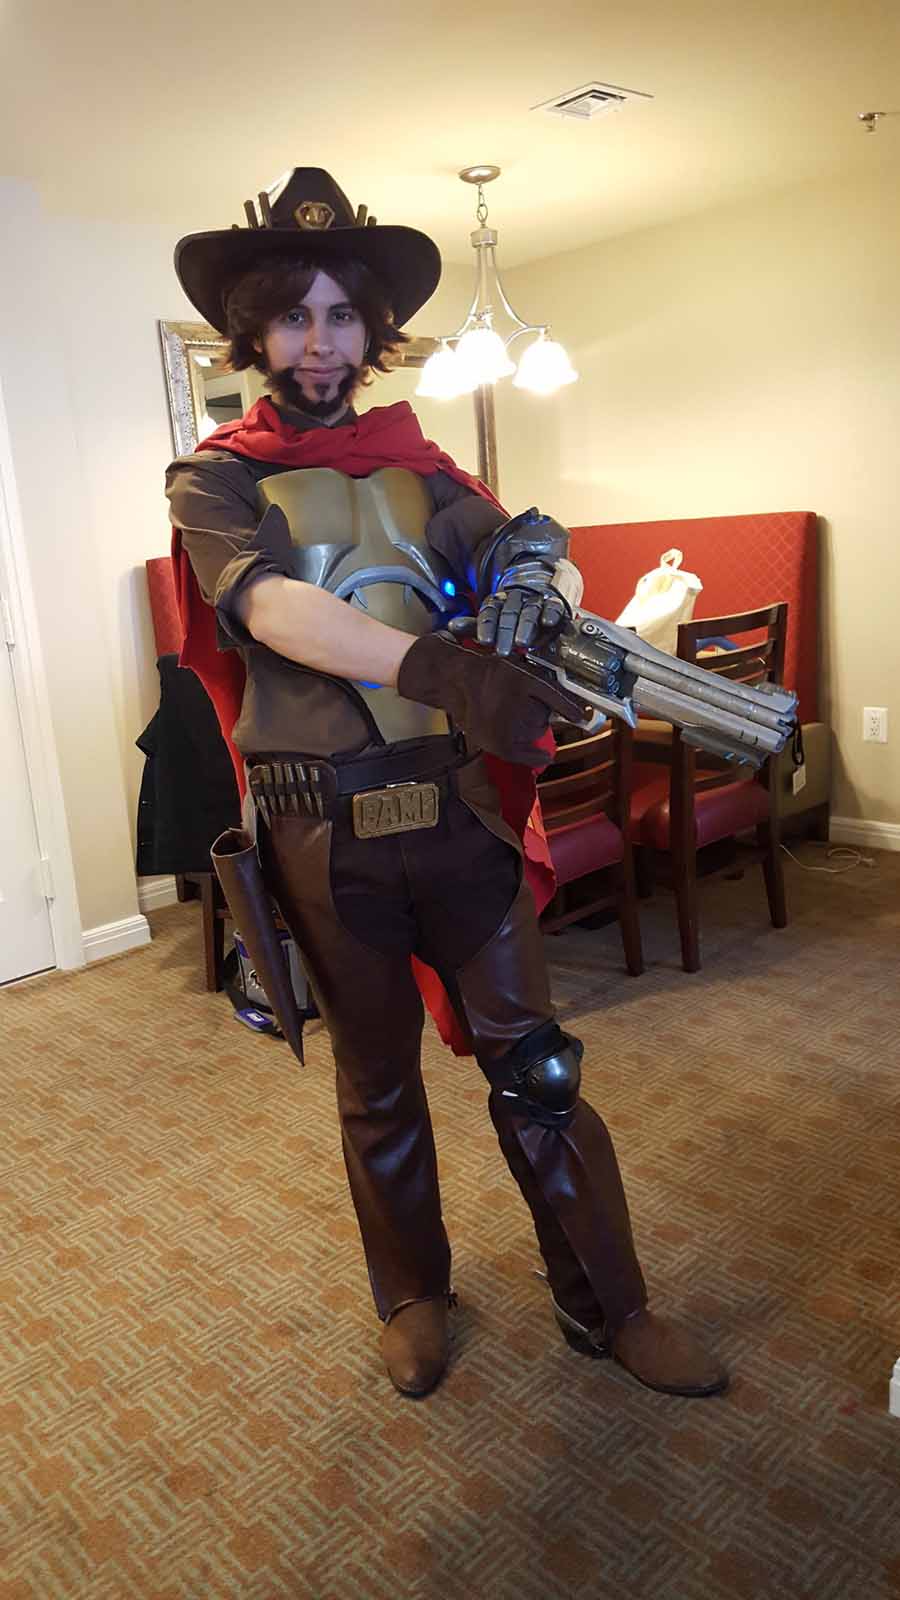
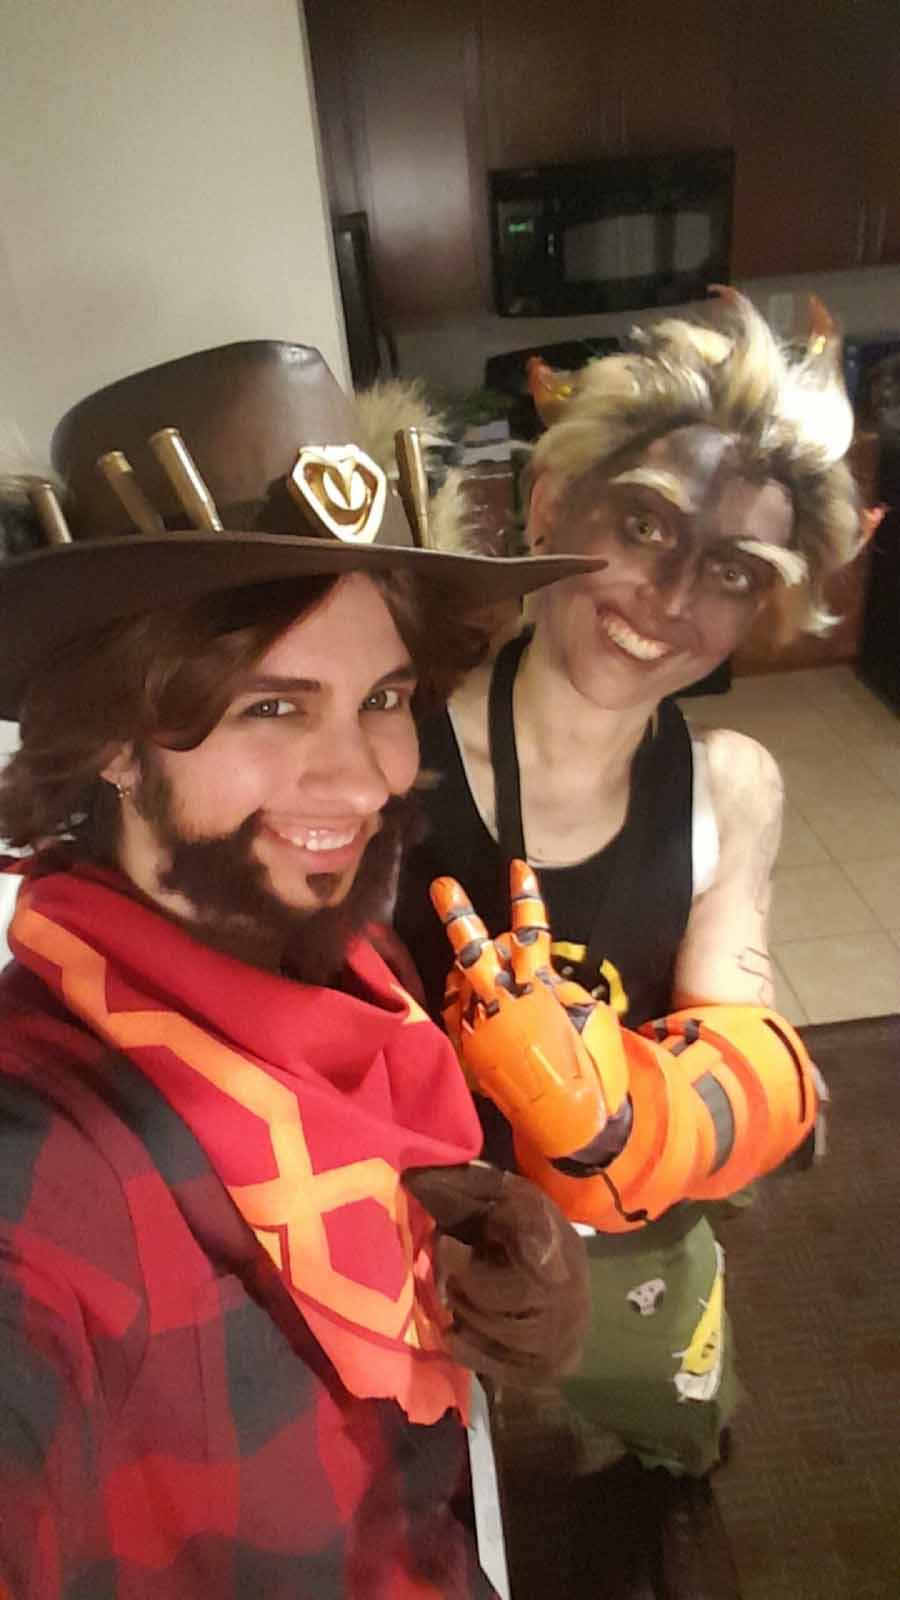
Construction Process
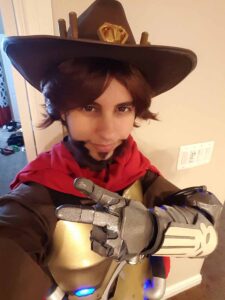
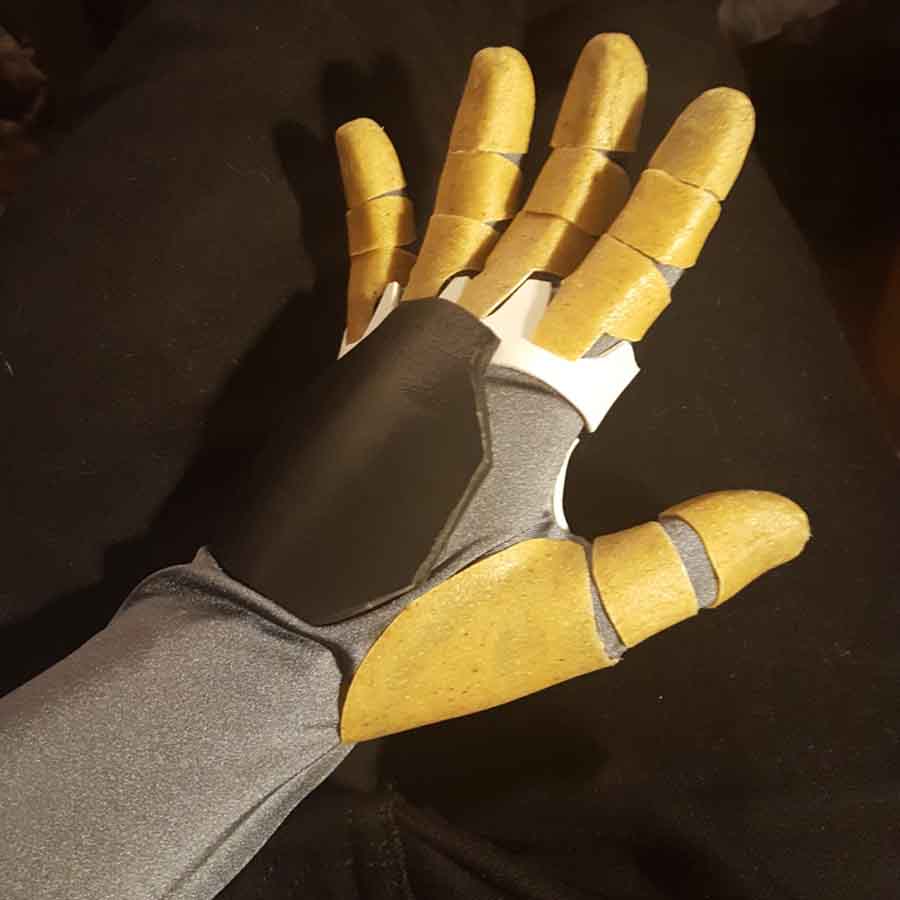
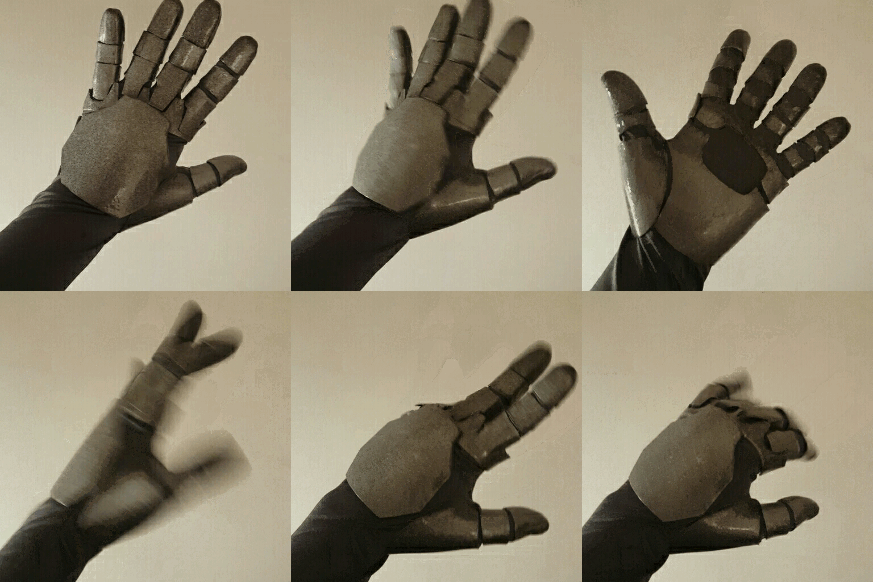
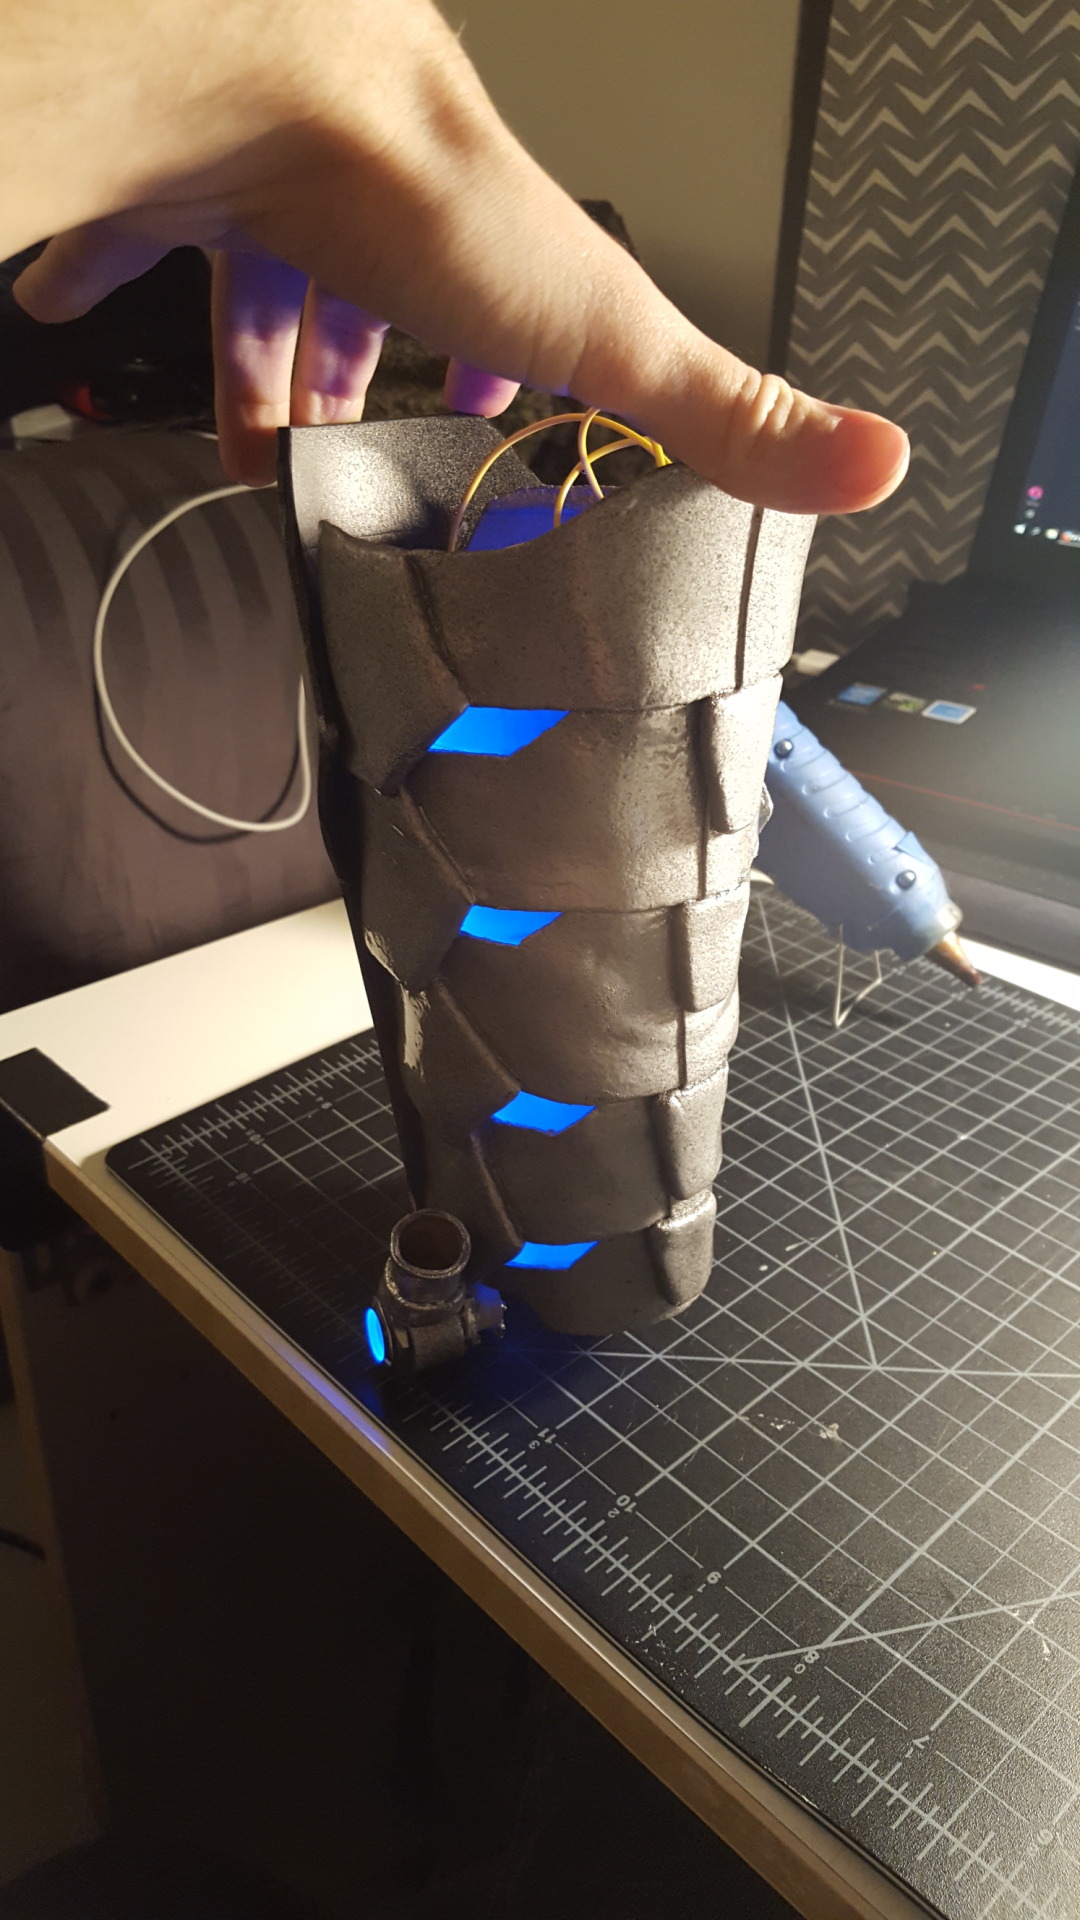
To create the robotic arm, I started with a fullsleeve grey armsock for the base and used a mix of Worbla, Sintra, and craft foam to create the shape of the pieces. This was my first project working with thermoplastics of any kind, so I used the learning curve to work from the smallest finger pieces up to the larger arm plates.
I created the elbow joint and forearm pieces separate from the arm-sleeve, which allowed the arm to be flexible, yet not too bulky.
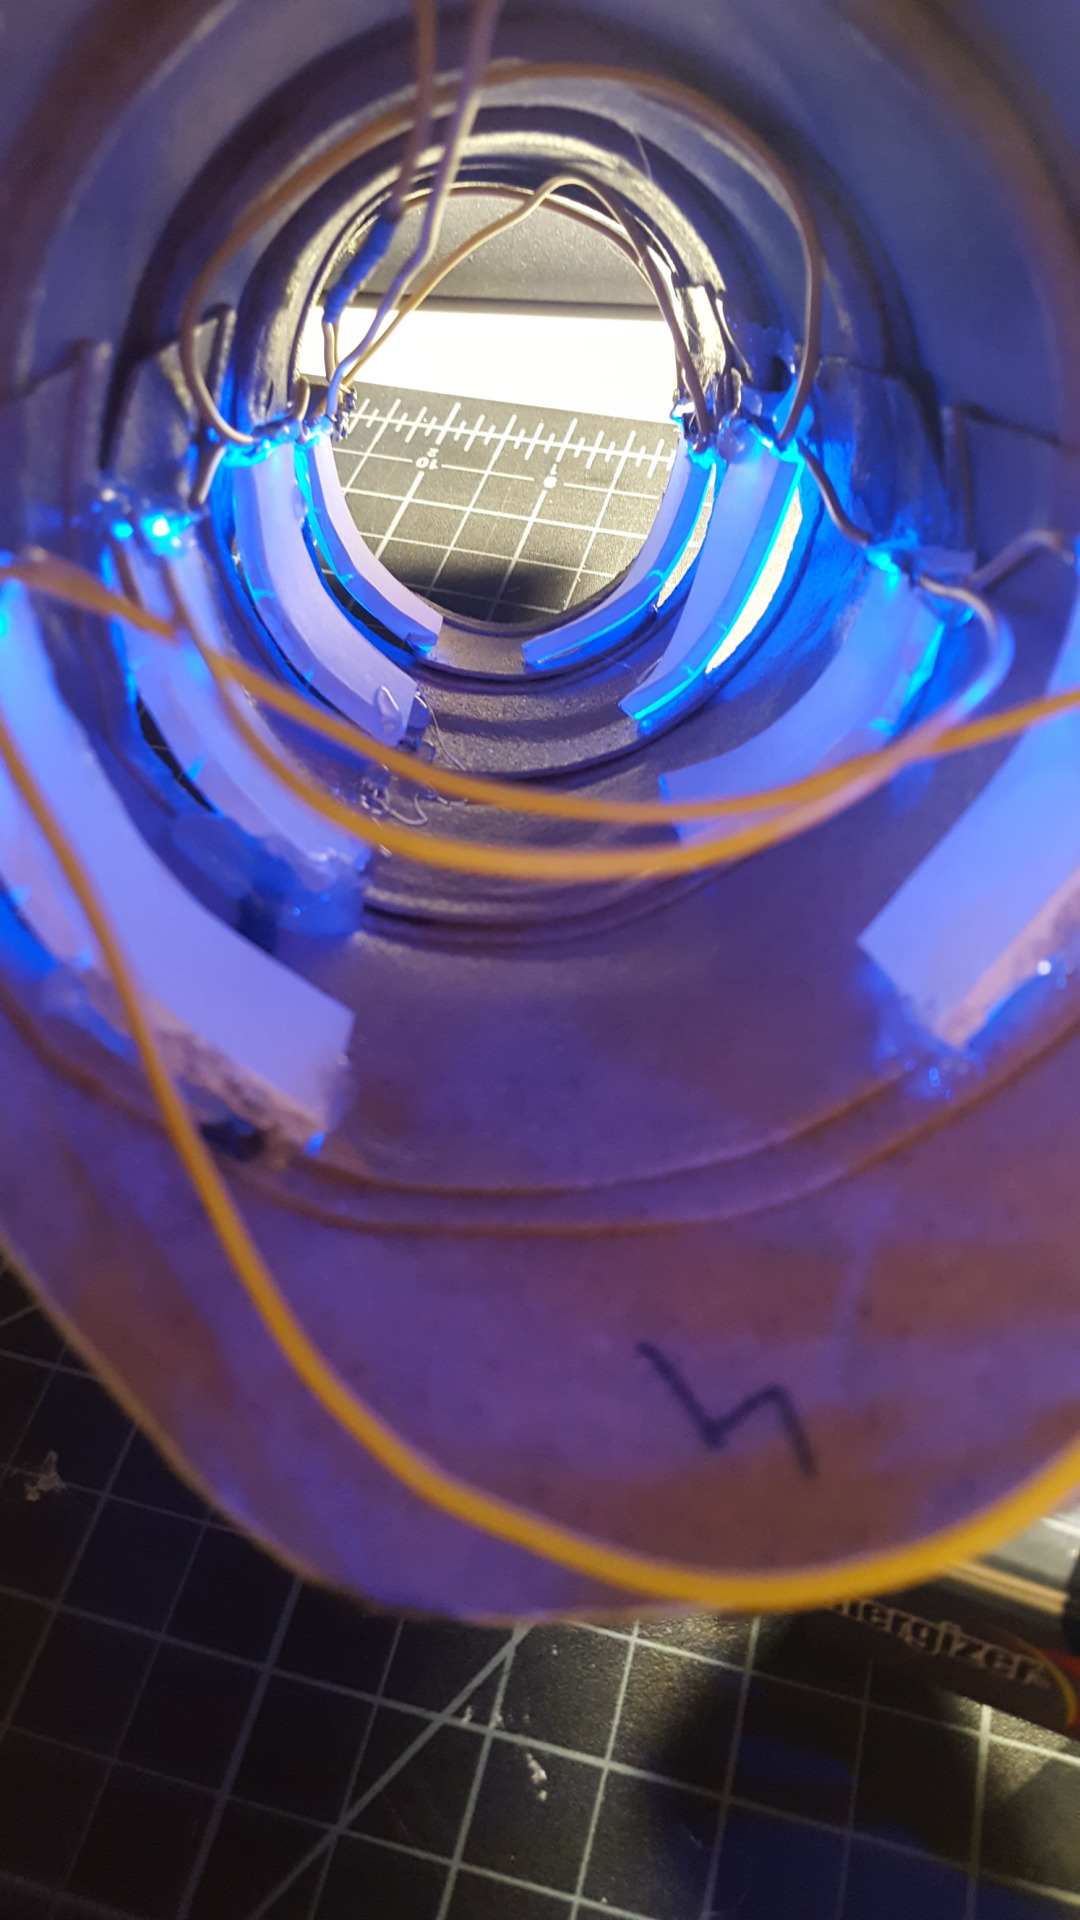
After shaping the pieces, I primed and spray painted them and attached the hand pieces to the armsleeve with glue. I made sure that the hand could fit through the wrist of the forearm piece once fully-assembled. I knew I wanted the arm to light up, so I left space within the structure to house wiring, LEDs, frosted blue plexiglass, and the battery pack.

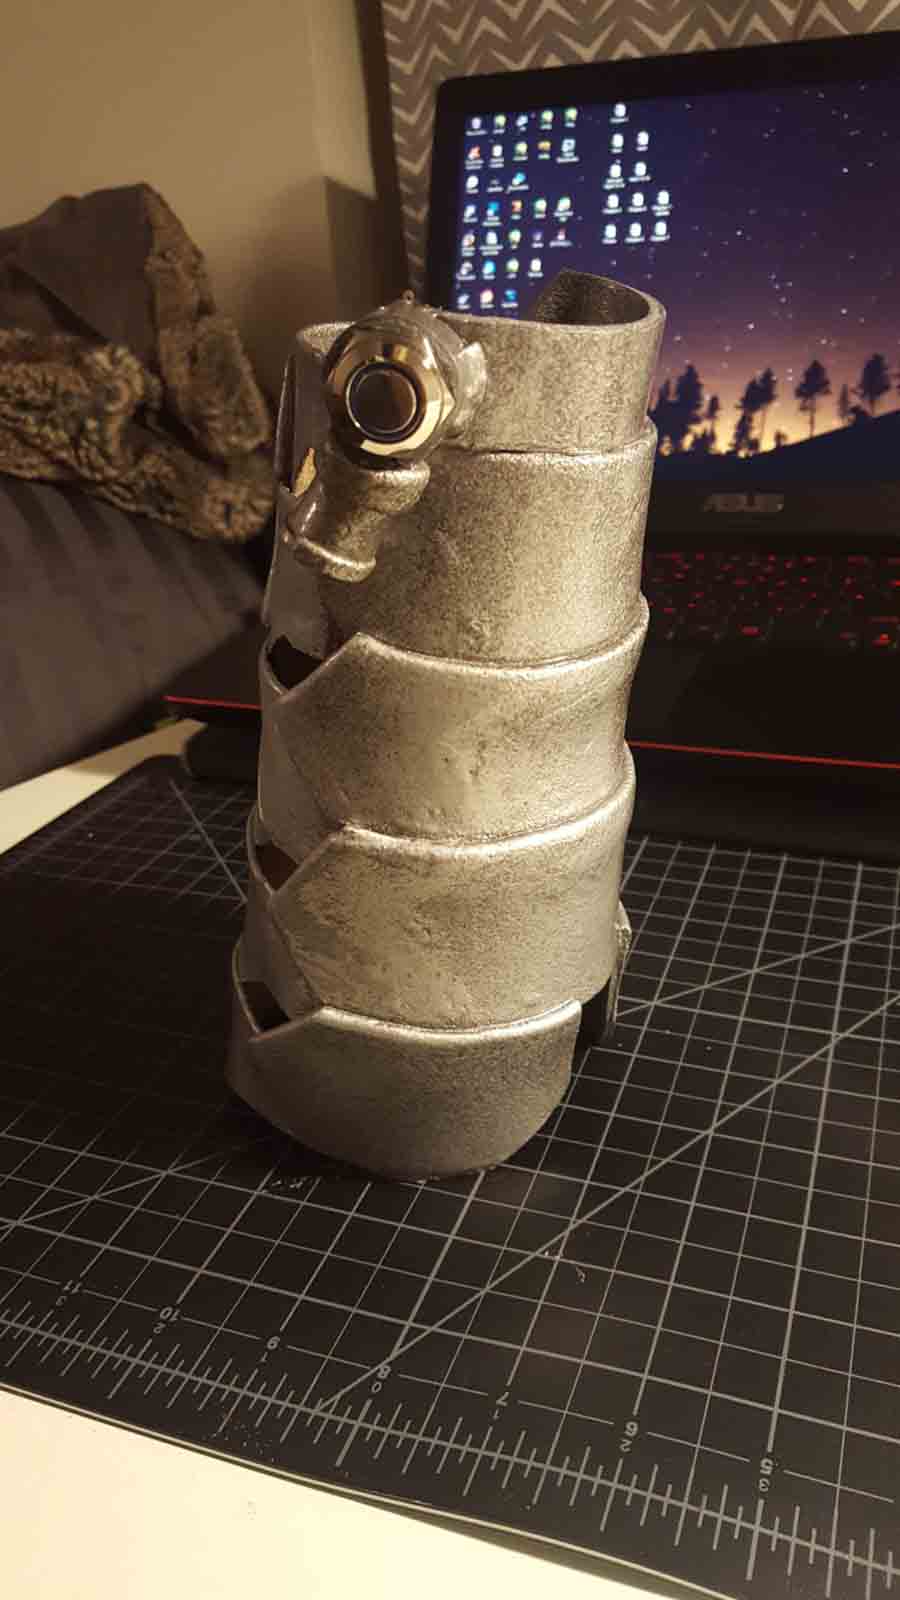
This was the first project I worked on that heavily featured LEDs, my only prior experience being the light-up wig from my previous Junkrat costume. I began by calculating the voltage needed, and assembling a working diagram of the LEDs, button, resistors, and battery to ensure that the circuit would work.
I then assembled the frosted glass into place within the arm pieces and measured/soldered the correct lengths of wire so that the LEDs would line up where they needed to be. I glued the LEDs into place on the inside of the arm and nestled the battery pack into the empty space of the elbow piece. The button attached to the wrist controls the lights on the entire arm.
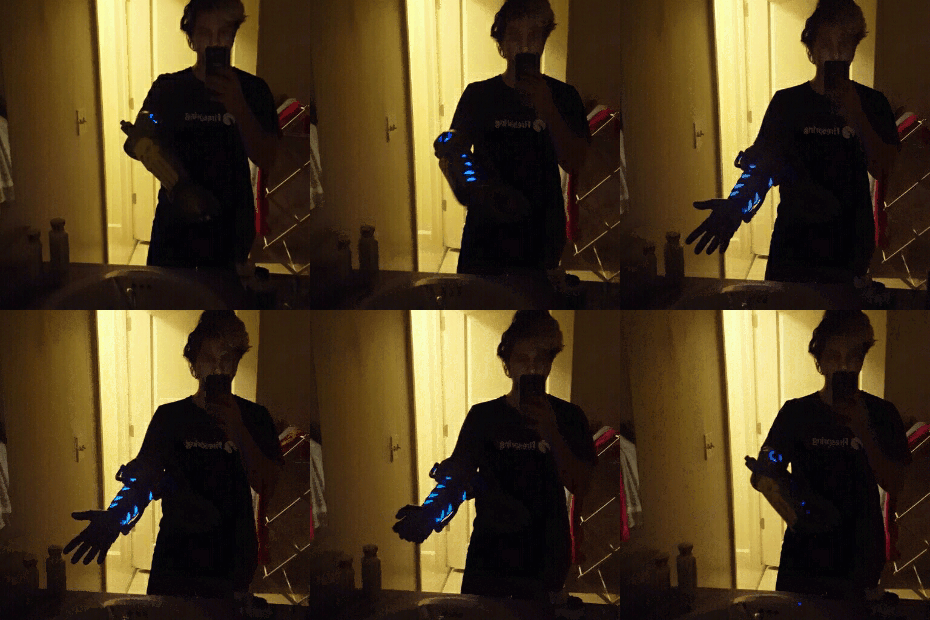
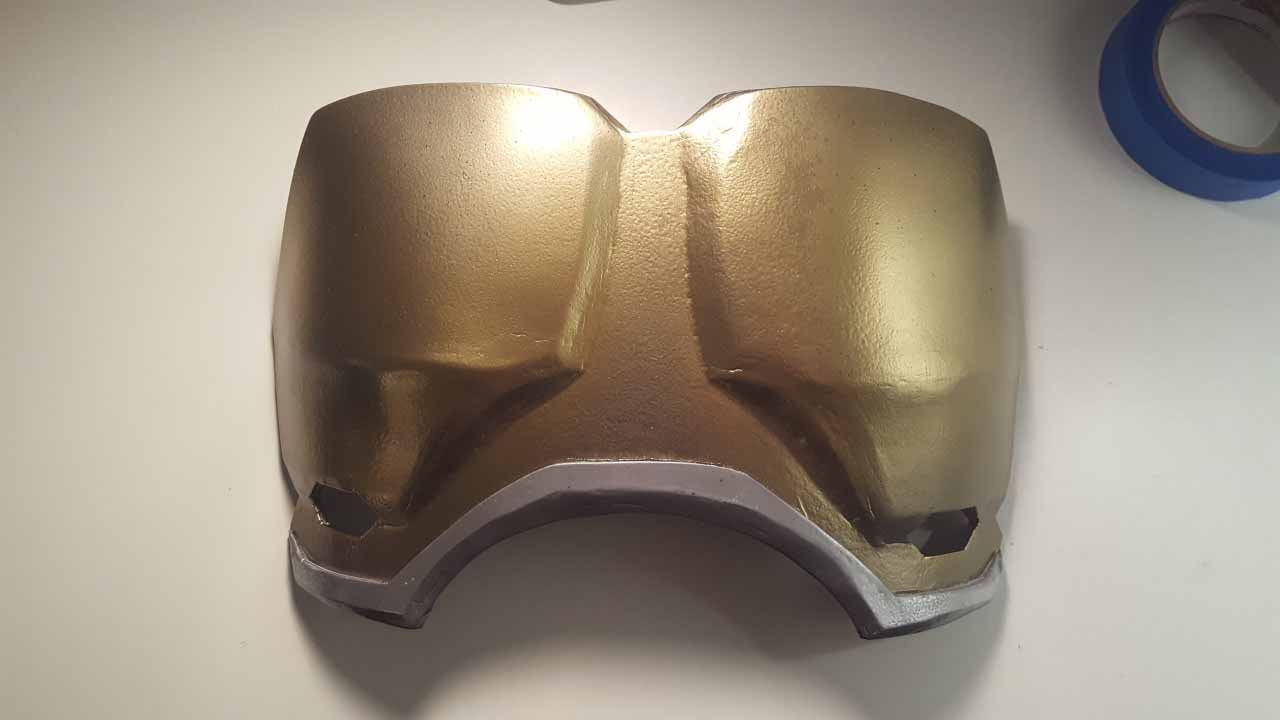
The chest plate was created similarly to the arm, using primarily Sintra so it would be firmer. It also includes LEDs, and the battery pack switch was located in an easy access location behind the front piece.

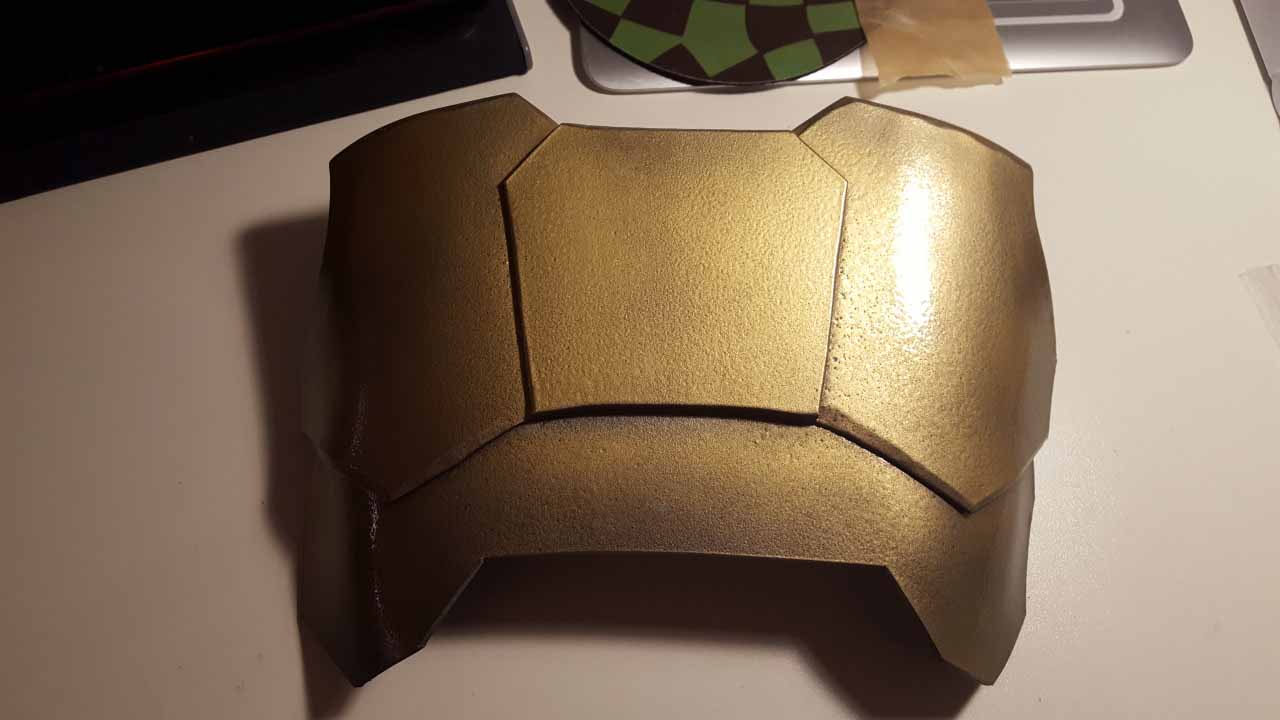
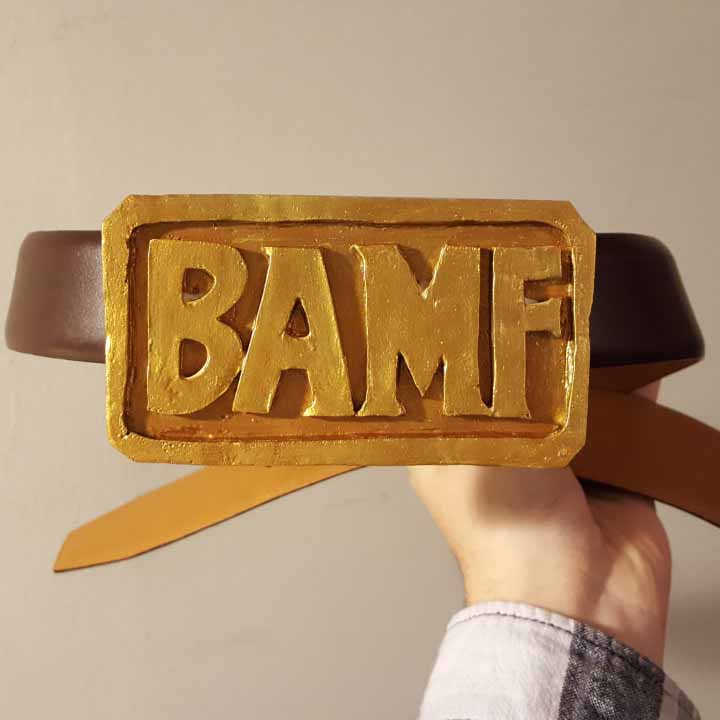
The belt buckle and hat emblem were sculpted in clay, molded in silicone rubber, and cast in resin before being primed and painted with matching shades of gold.
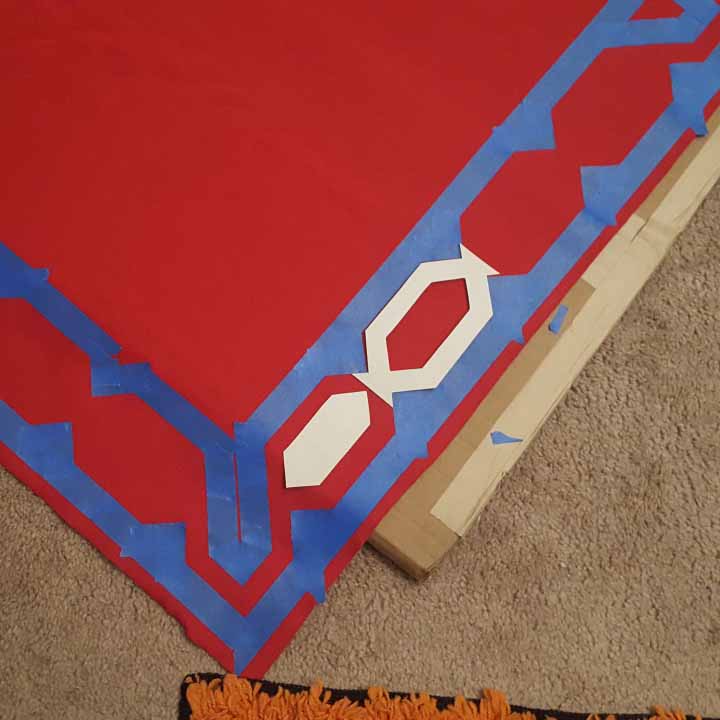
The serape was cut from red fabric, hand-painted using masking tape for crisp edges, and sewn to itself in order to drape correctly off the shoulders.
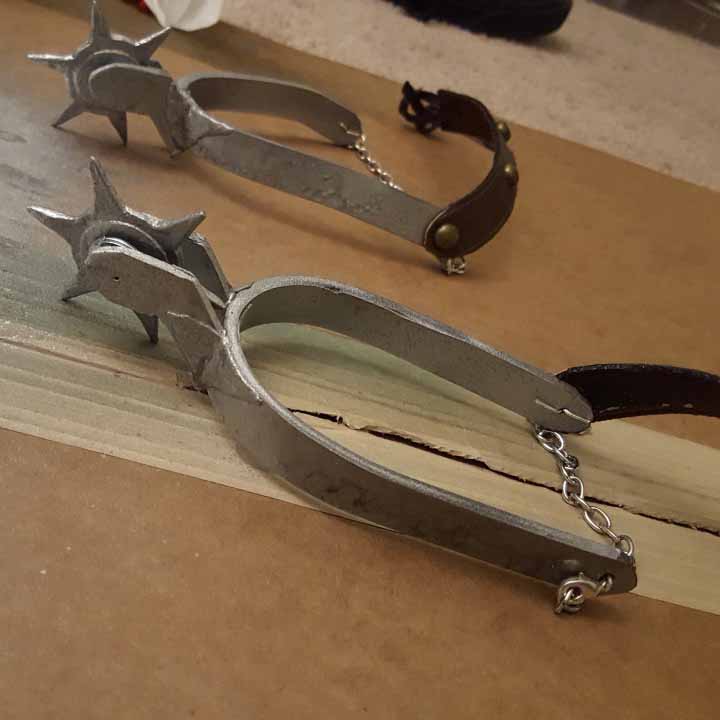
I sewed a pair of chaps using faux upholstery pleather, and created fake spurs that could spin in place out of thermoplastic. A variety of other accessories, such as the hat, plastic bullets, and kneepads, were purchased and then modified to fit the rest of the costume.
For the final touch, I used crepe hair and liquid latex to apply a fake beard.