Eridan Ampora
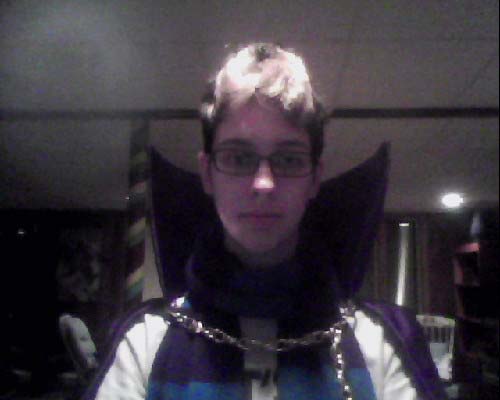
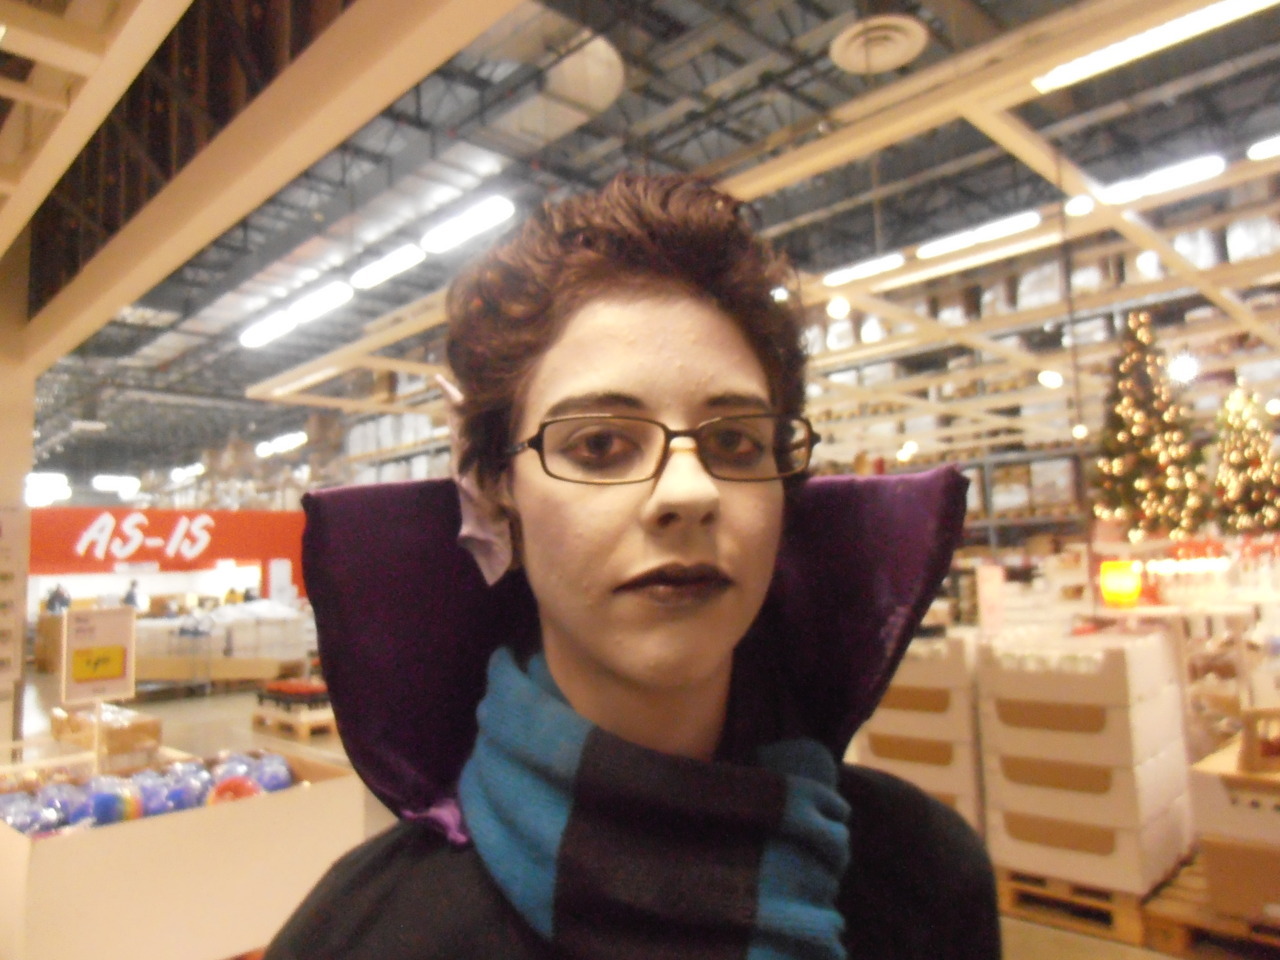
One of my first-ever cosplays, Eridan went through a variety of stages as I learned more about cosplay and costuming and, piece by piece, upgraded the costume.
Process and materials used:
- Clay sculpting
- Makeup application
- Sewing
- Facial appliance creation
- Prop fabrication
Photos
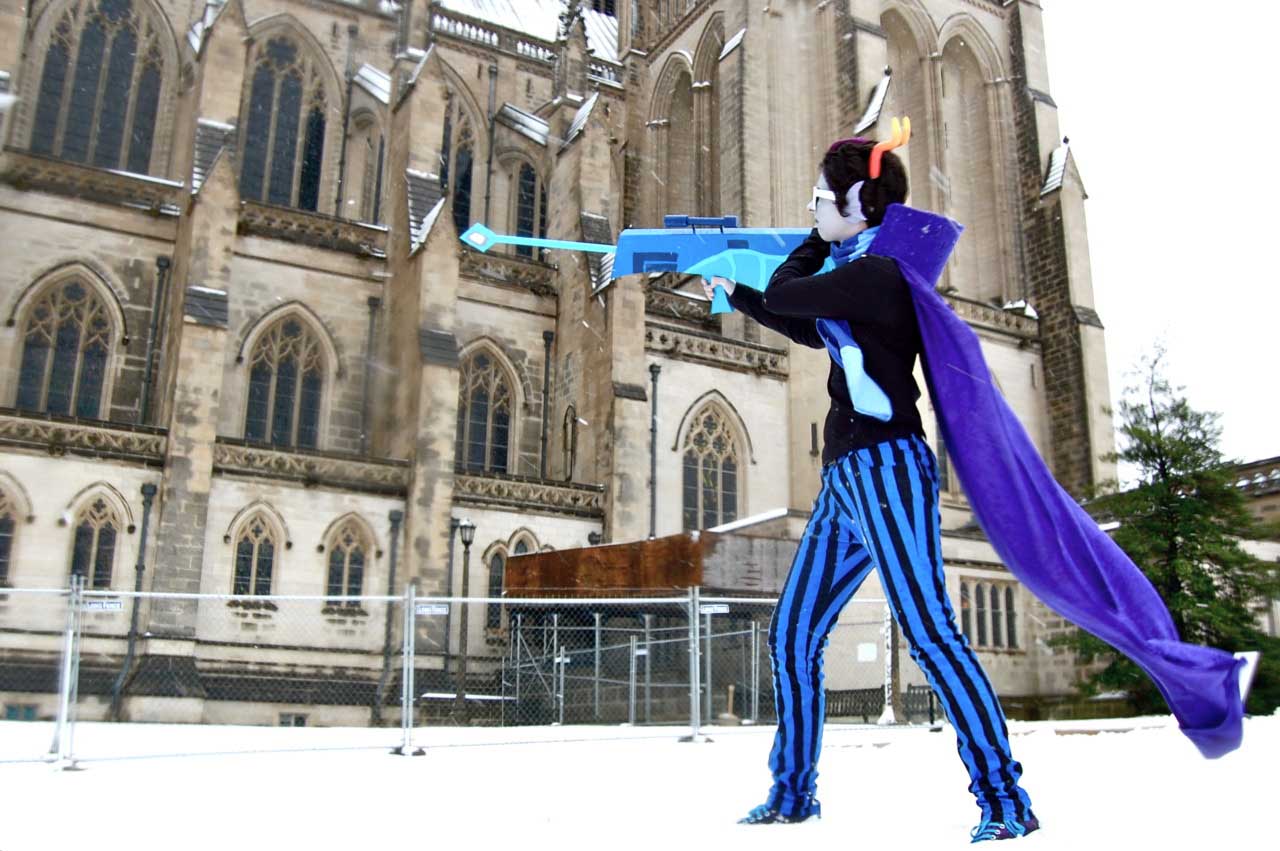
National Cathedral in Washington, DC, 2013

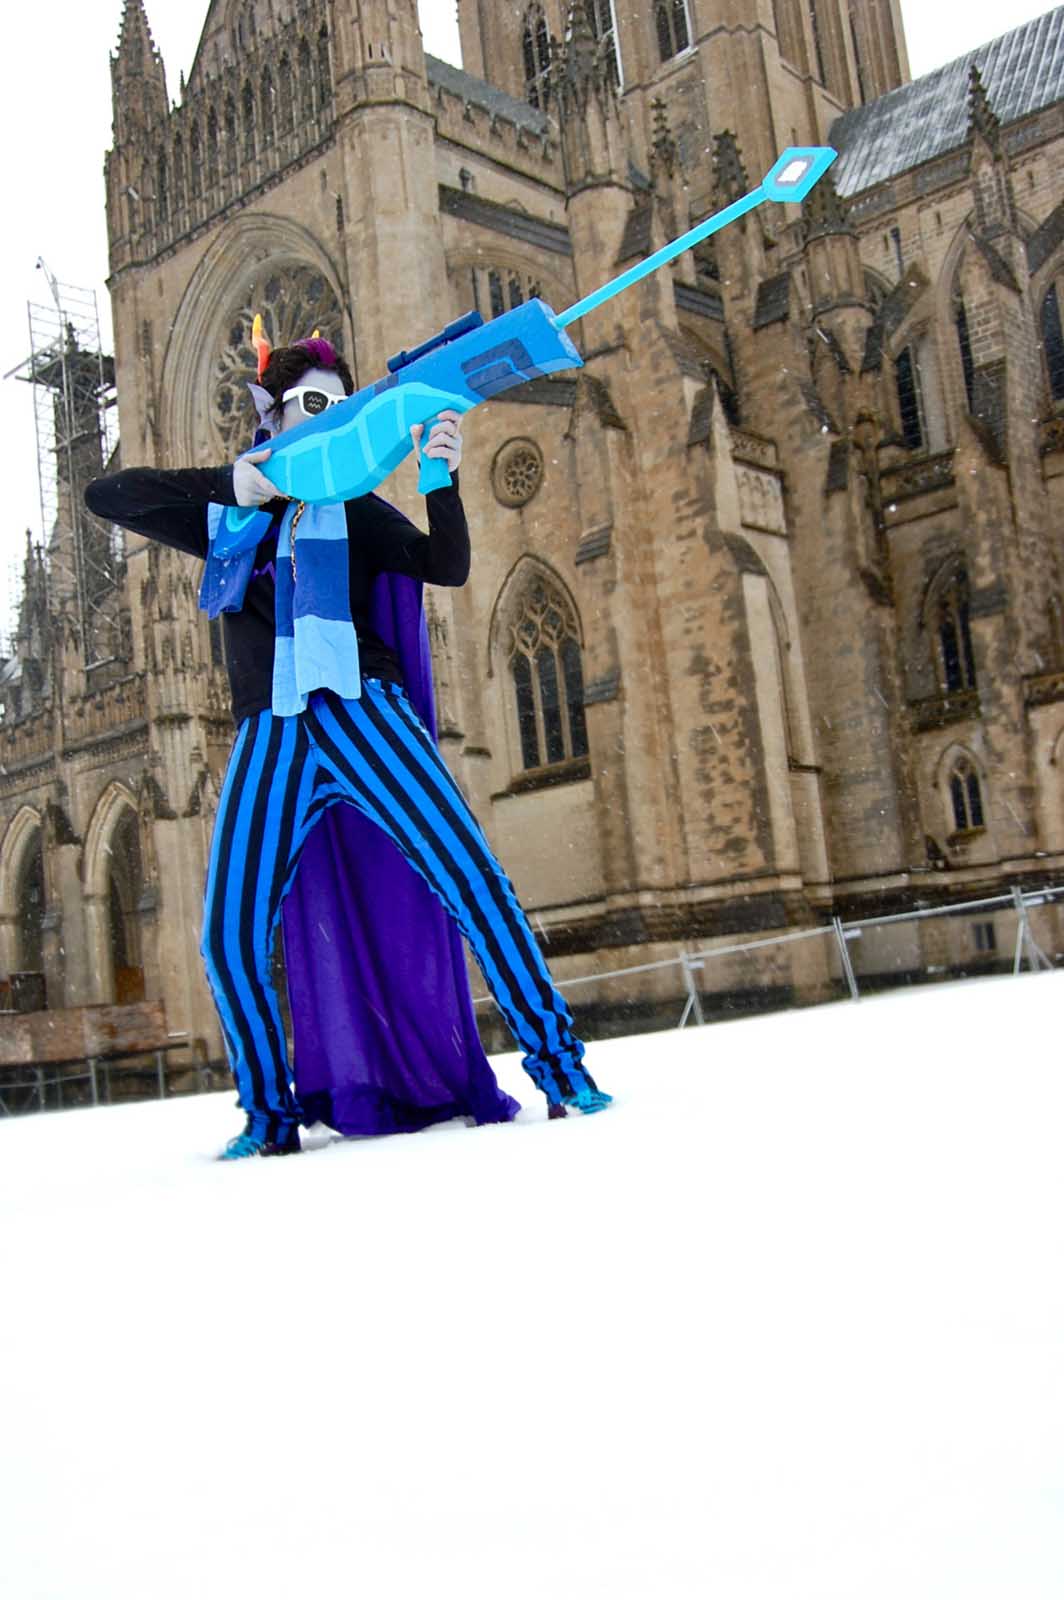
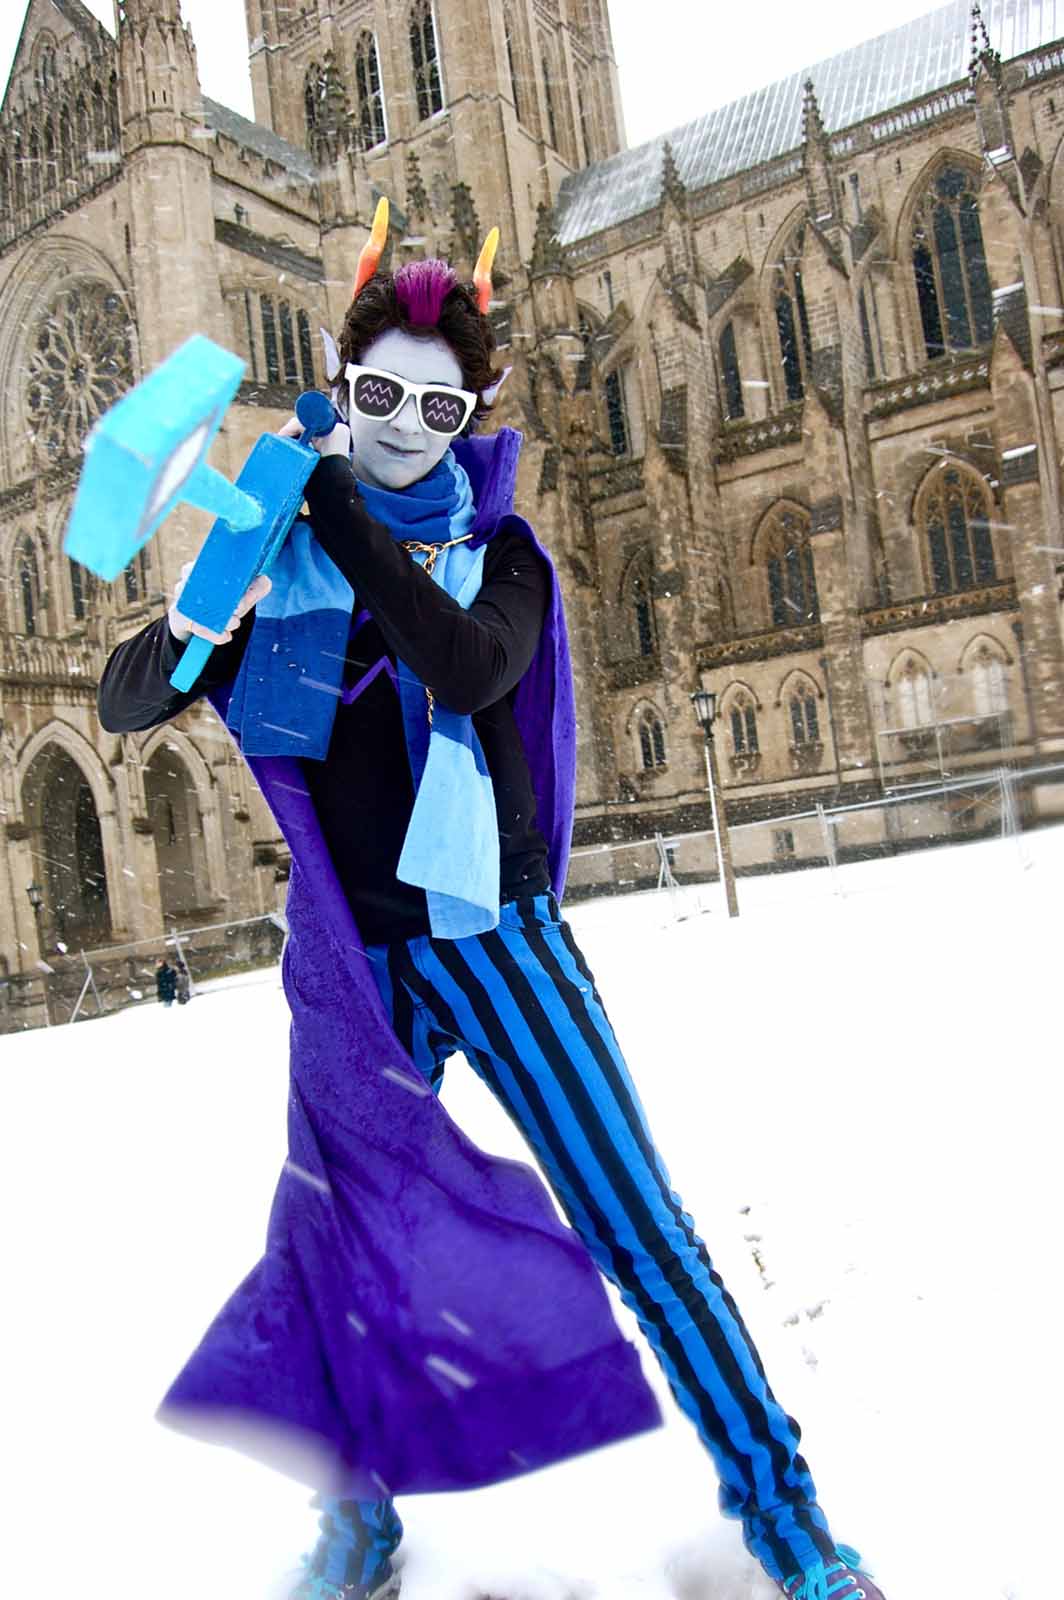
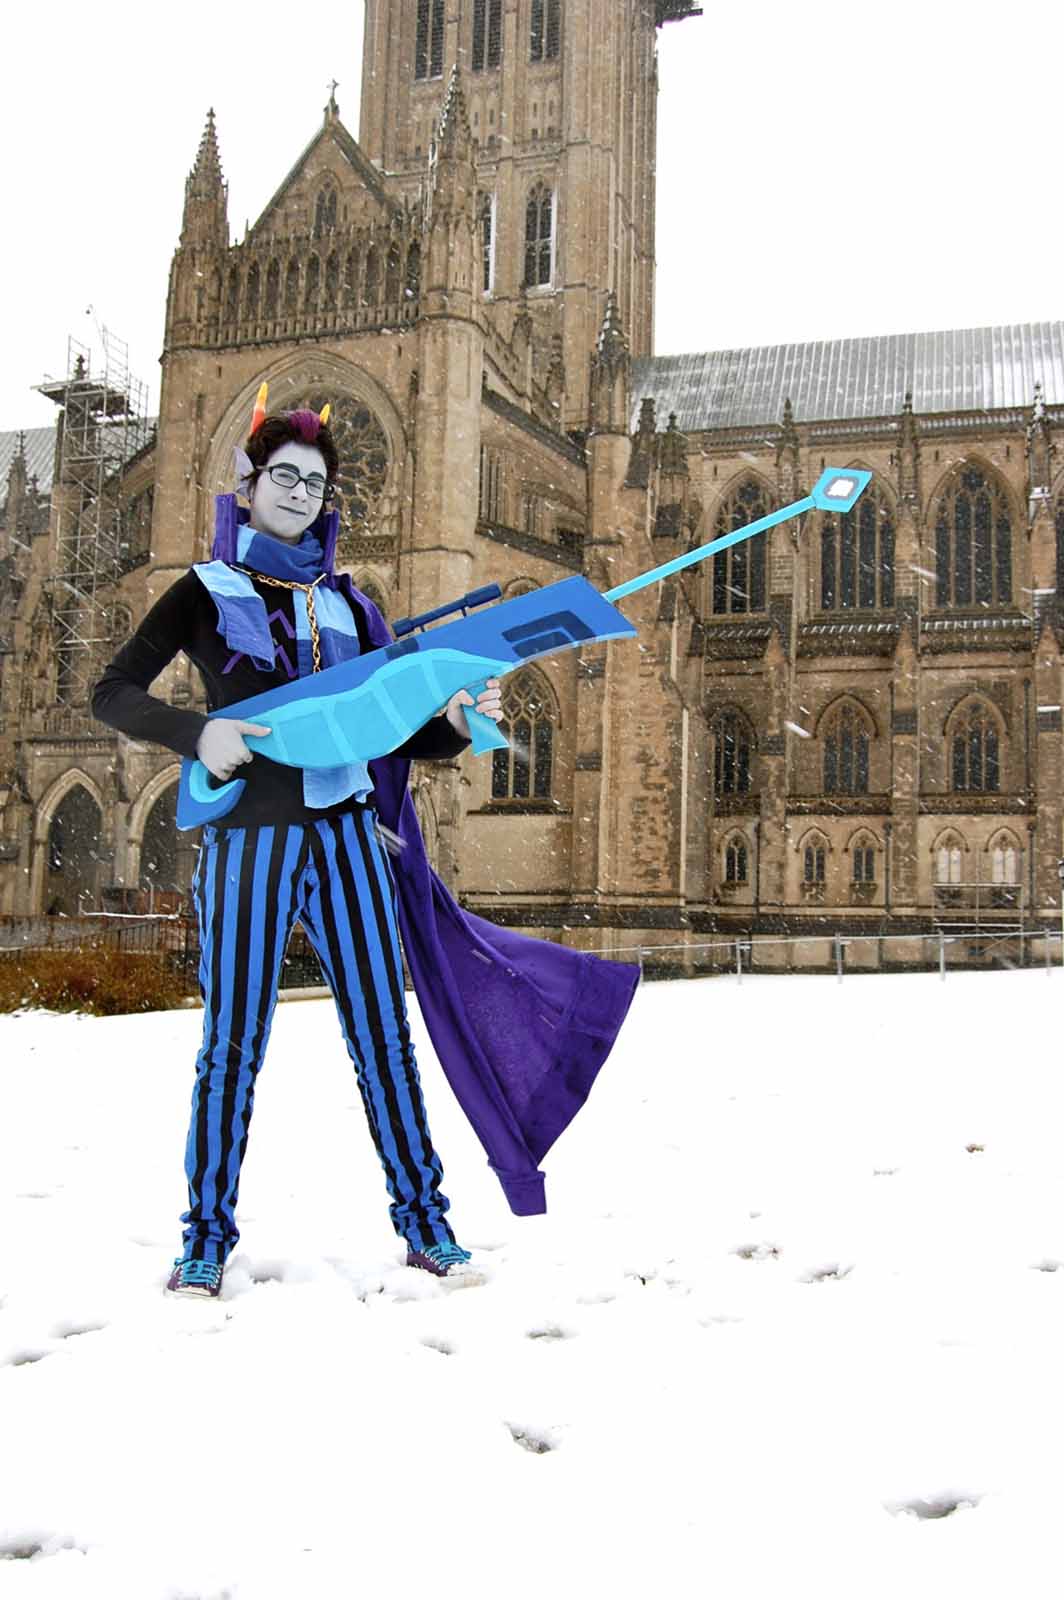
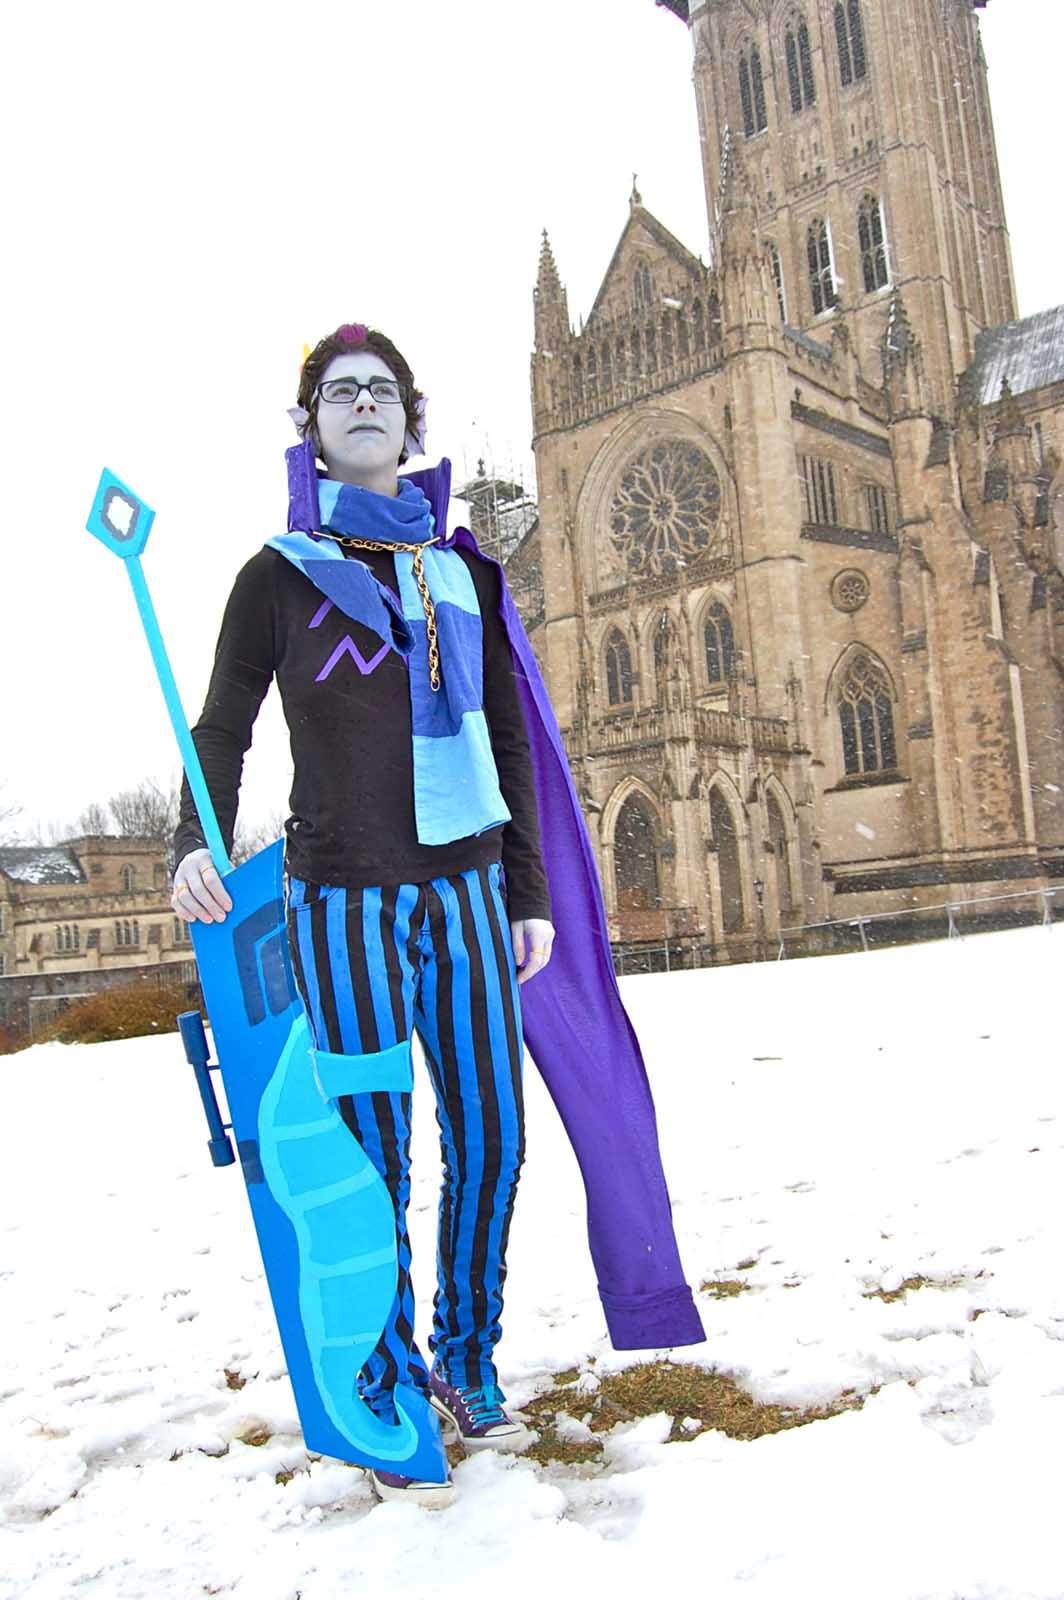
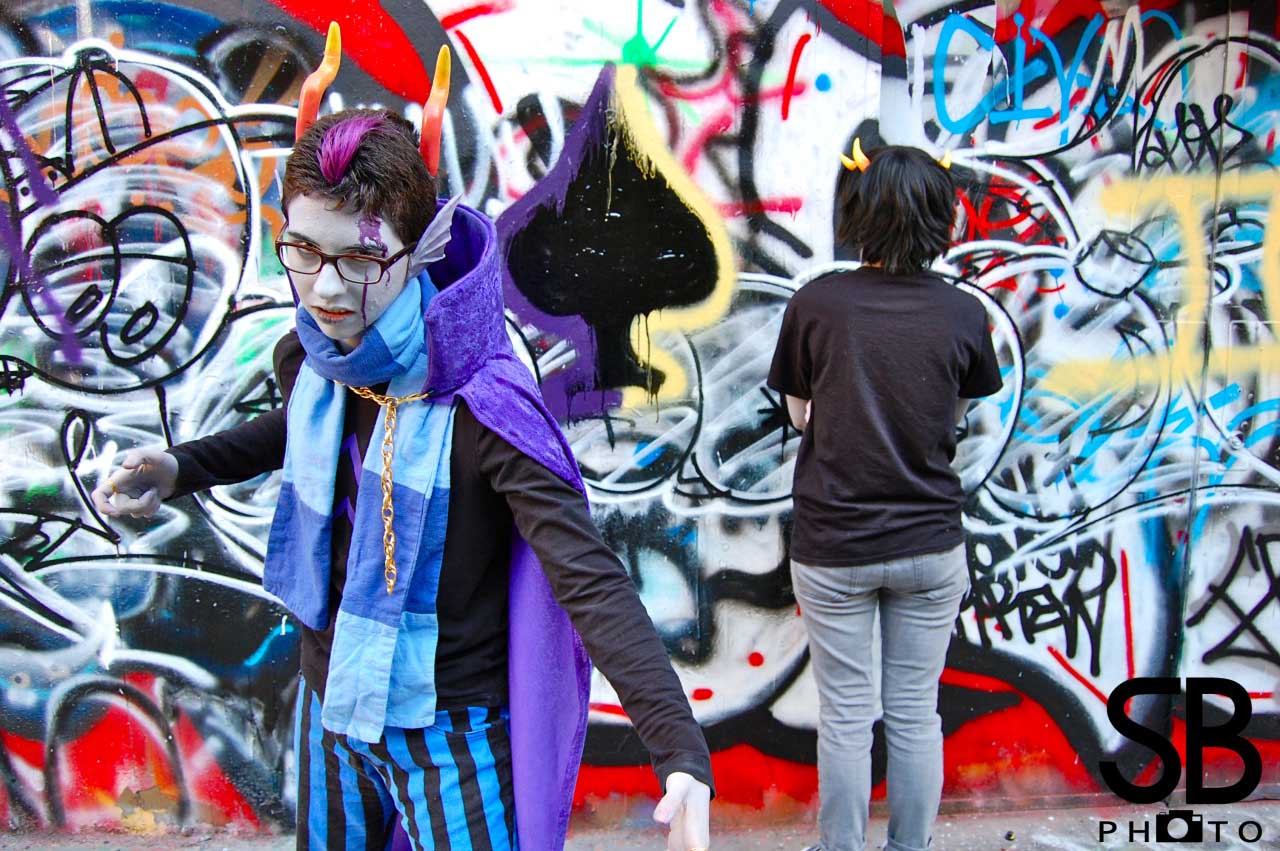
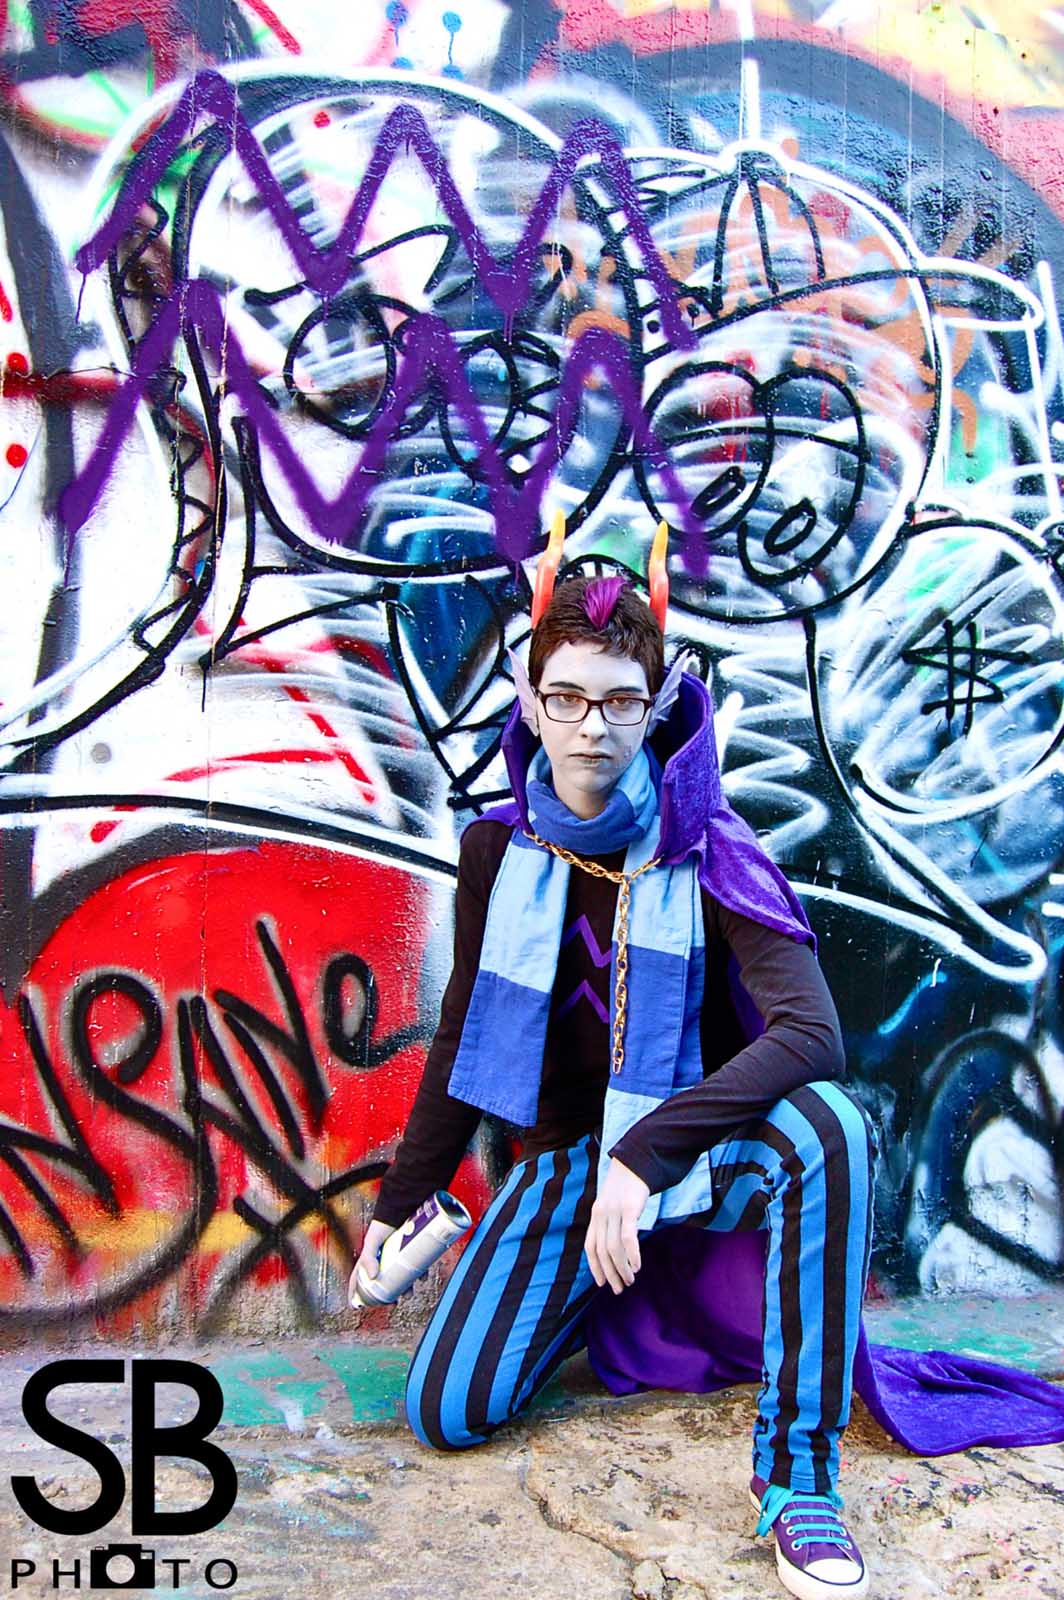
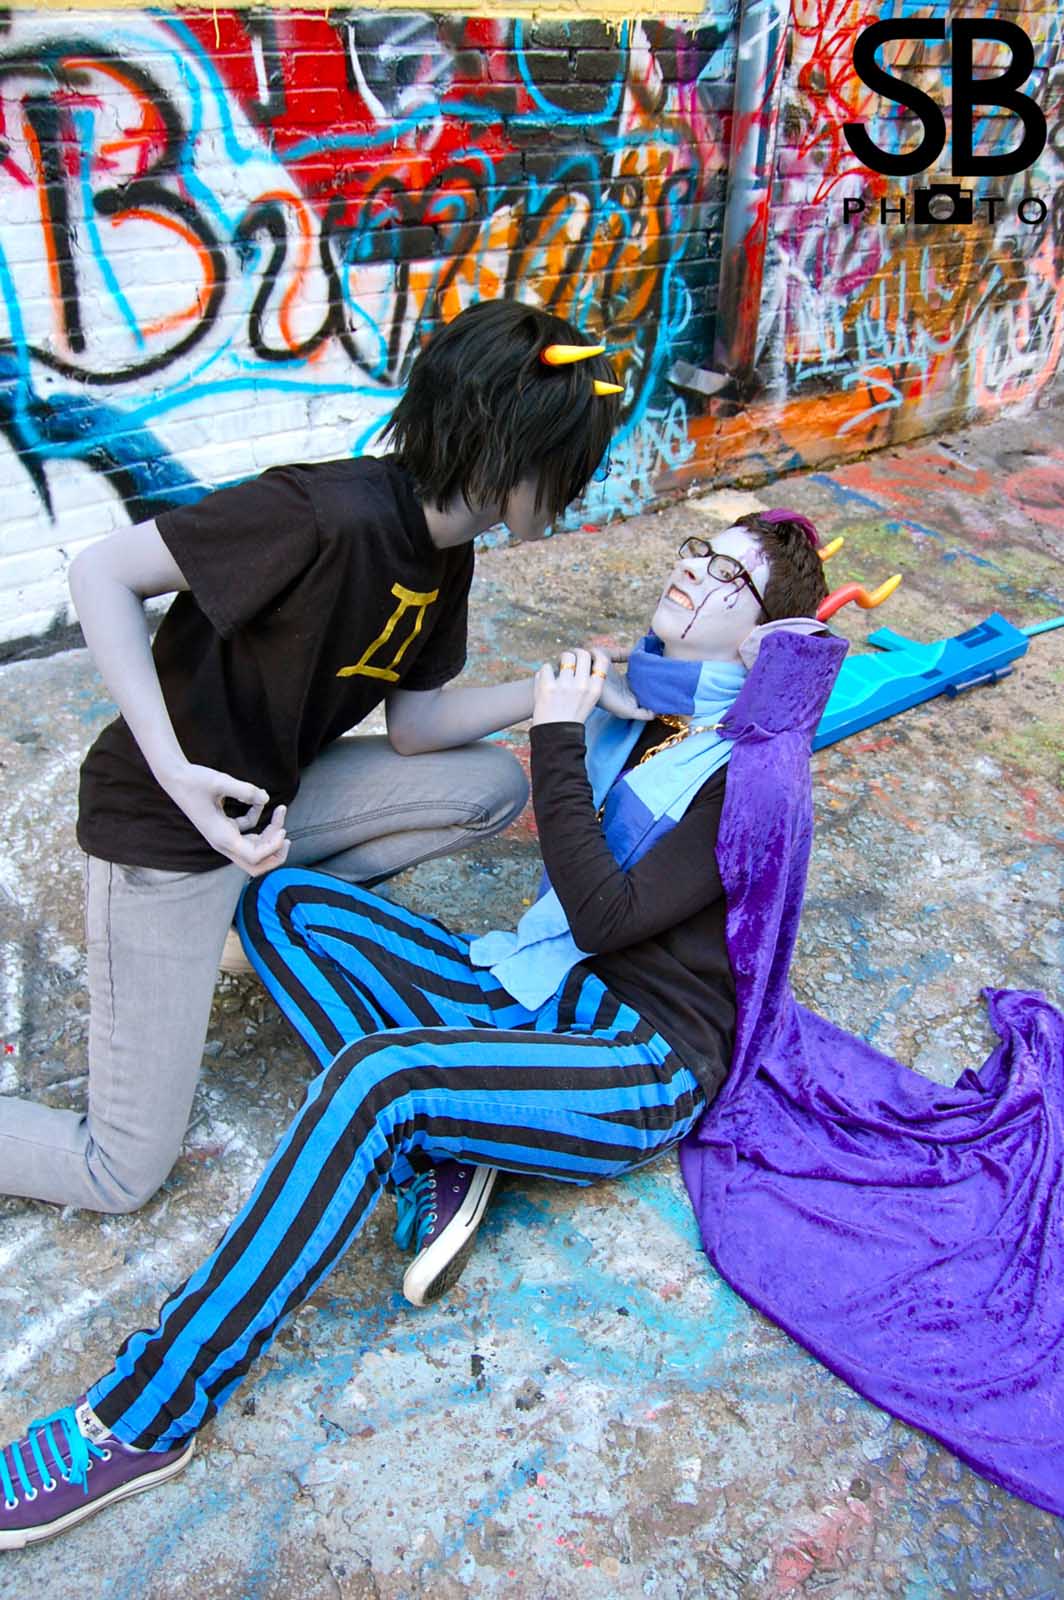
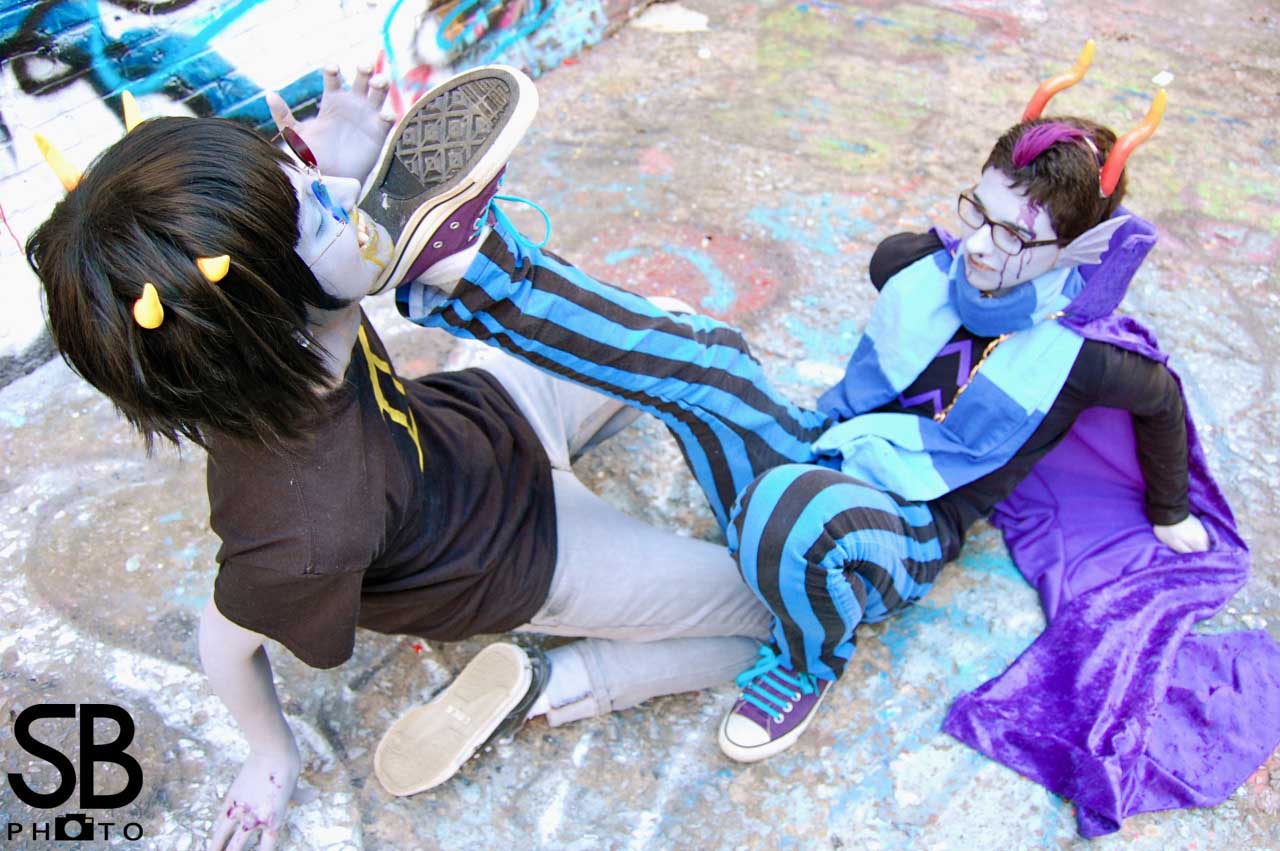
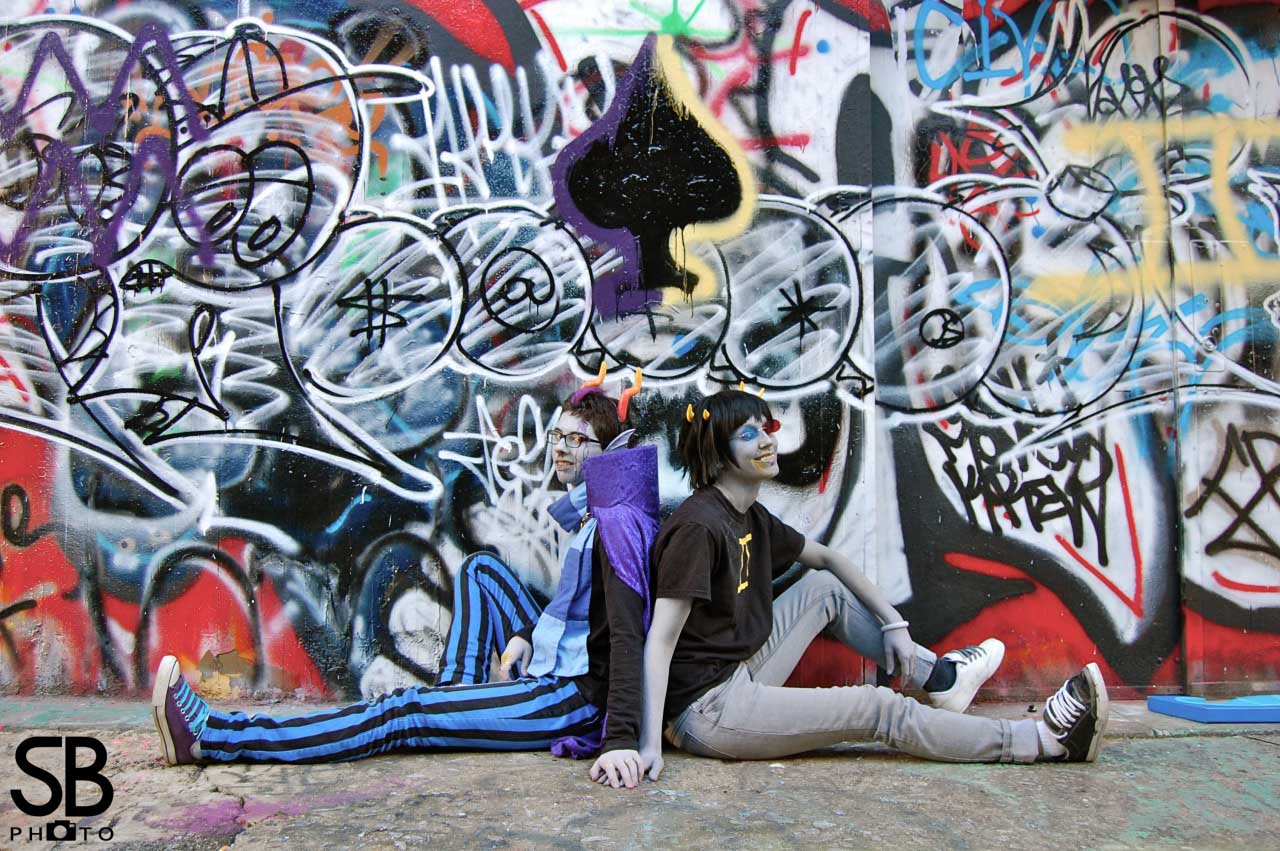
Graffiti Alley in Baltimore, MD, 2013

Construction Process
As stated above, my Eridan cosplay went through a few variations over the course of about two years as I re-used the costume between events and upgraded pieces of it here and there for each one. By the end of my time wearing the cosplay to conventions and events, nearly every piece had been replaced except for the gun prop.
The gun was made from a piece of wood, sawed to shape and woodglued together, before being painted to resemble the character’s harpoon weapon. The cape was created to have a stiff collar by sewing a piece of curved cardboard into the inside seams, holding its shape. The shirt was carefully painted with the character’s violet Aquarius symbol, and the scarf was sewn piece by piece to create the two-colored striped look. The pants were bought (can you believe they sold pants like this?) from a UK-based brand.
The horns were created with airdry clay, painted, glossed, and attached to a black headband. I initially dyed my hair purple for the first few iterations of this cosplay, but later switched to using purple wefts which gave me better color without having to commit to the look on a day-to-day basis. The ear fins were also created with airdry clay and attached to pieces of curved wire which anchored onto and behind my ears to hold them in place. Ben Nye grey creme makeup —and later Wolfe FX water-based makeup— was used to paint my skin grey, and was sealed with multiple layers of setting spray and powder to keep it from rubbing off.