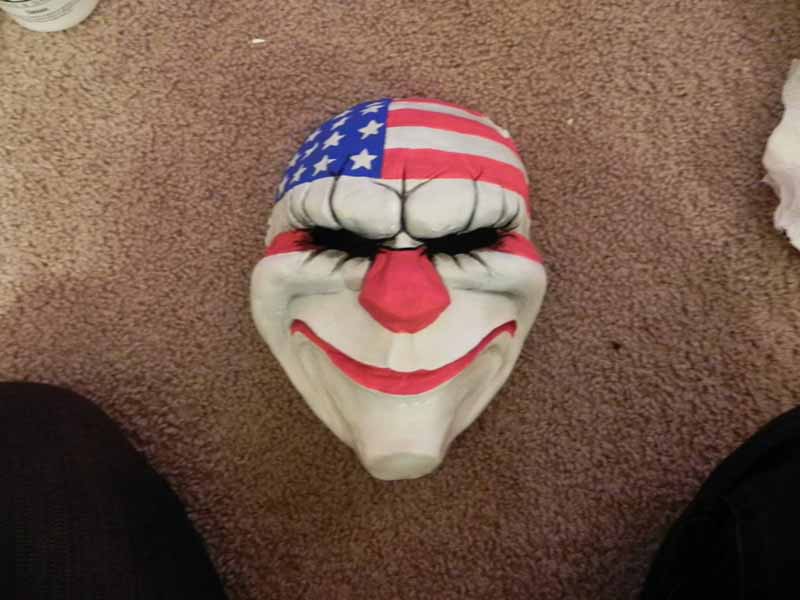
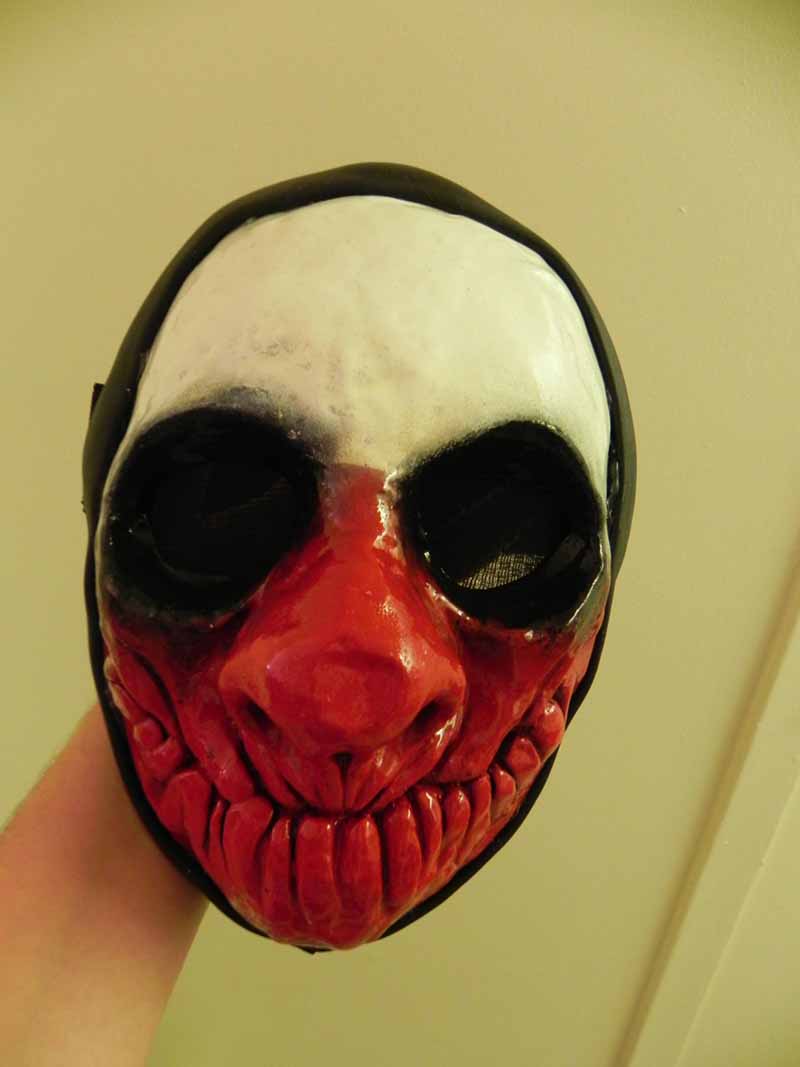
Wolf & Dallas
Fans of the game Payday 2, my friends and I wanted to create costumes to wear together to an upcoming convention. I decided to create the characters’ masks by hand, rather than purchasing the official-but-expensive masks which were for sale. The rest of the costumes were regular dress clothes, bought primarily from Goodwill. For Wolf’s cosplay, I applied a bald cap to hide my hair and added a fake beard with crepe wool and spirit gum.
Process and materials used:
- Clay sculpting
- Silicone moldmaking
- Resin casting
Construction Process
This was my first experience with moldmaking, silicone, or resin, and the “college student on a shoe-string budget figuring out the process one step at a time” really shows. At the time, I wasn’t aware of and didn’t use proper safety techniques when handling silicone or resin. Do as I say, not as I do: do not handle these materials without proper PPE.
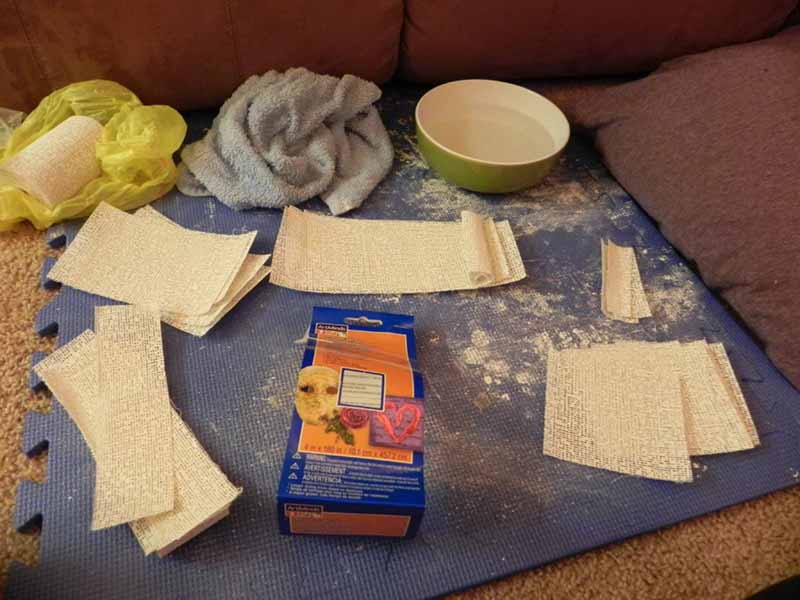
Prep for facecast:
- Plaster of Paris bandages
- Bowl of water and some paper towels
- Pillow or towel to rest your head on
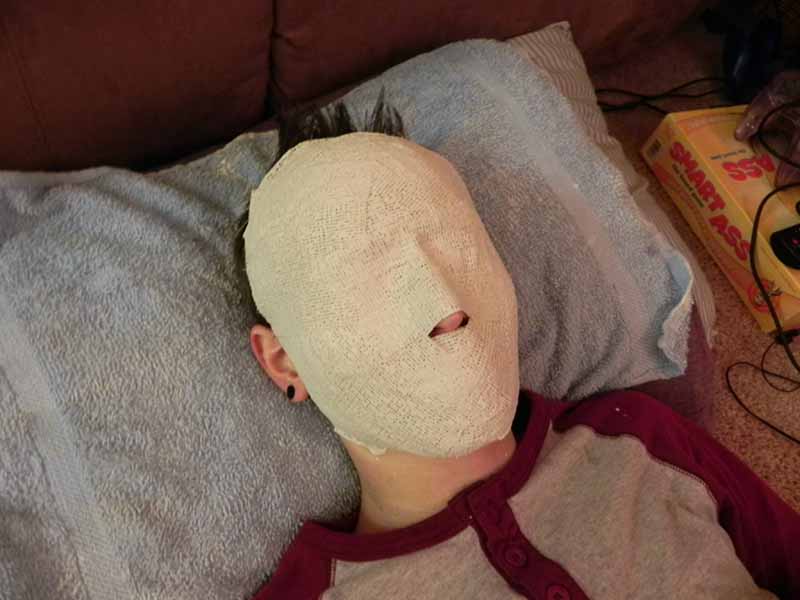
Begin dunking strips of plaster bandages in the water, squeezing the excess out, and laying them on your face. Build up a layer or two of bandages around the outside of your face, then lay strips across the broader areas of your face (ie. forehead, cheeks, under the chin, across the nosebridge and cheekbones). Avoid covering the nostrils. Continue to lay bandages until you feel that the facecast is thick enough to not crack or buckle.
Once dry, carefully pull it off your head. Turn the facecast over and, using a few extra strips, reinforce any thin or weak spots (ie. the nostrils).
Prep for clay sculpt:
- Air-dry clay
- Reference photos
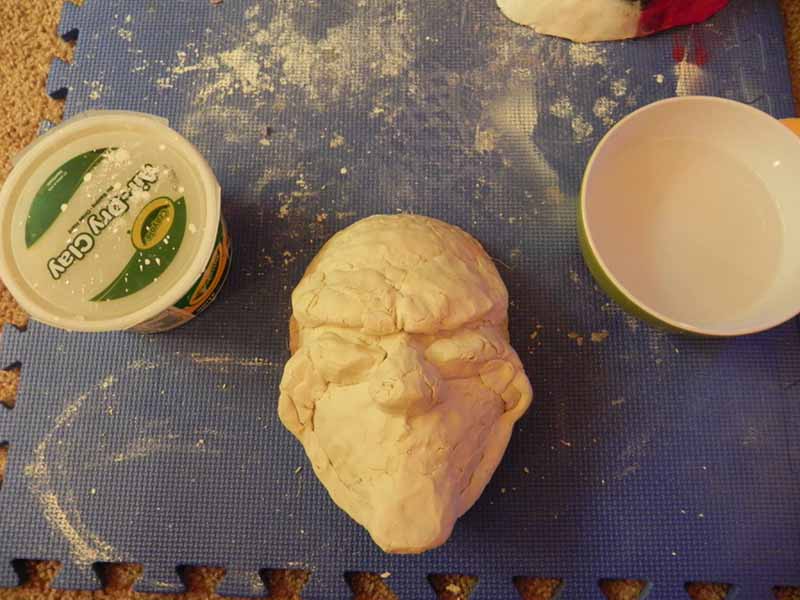
After the plaster facecast is dry, start sculpting the mask with clay. Block in the basic shapes (ie. eyebrow ridges, nose, cheekbones, chin and jaw) to make sure you’re getting the proportions and position right. Refer to your references from all angles; this stage of sculpting is the most important.
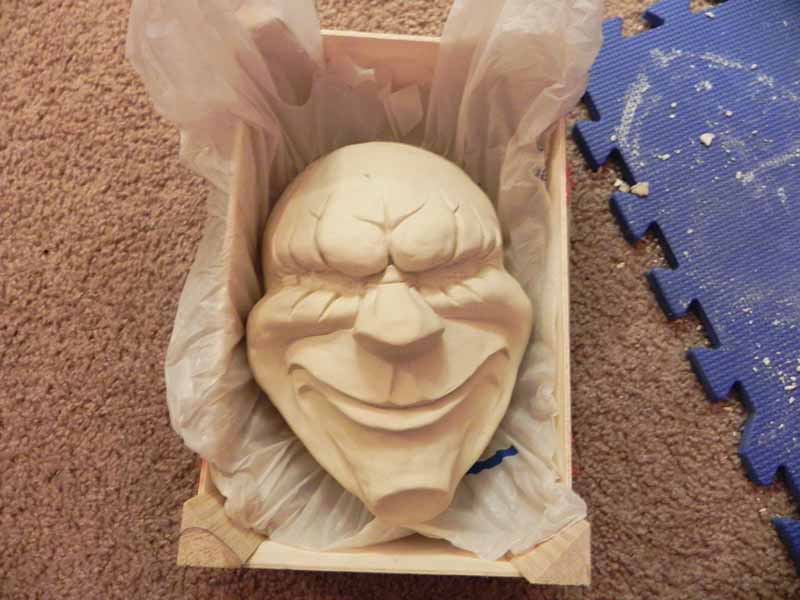
Once your landmark features are blocked out, start blending edges and adding in more detail. When you’re finished sculpting, be sure to smooth out any flecks of clay or fingerprints in the clay as best as you can. Any small details or imperfections in the clay WILL end up being part of the final mask.
Prep for silicone mold:
- Box/container
- Plastic bags/wrap
- 2-part silicone
- Mold release
- Plastic spoon
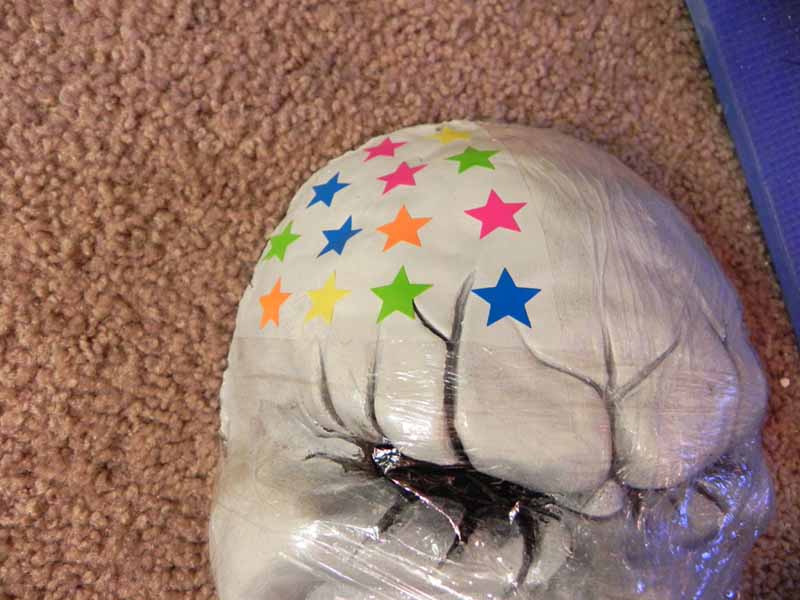
Line your box/container with plastic bags or plastic wrap and carefully place your mask in it. Make sure there are no holes in the bottom for the silicone to run out. Spray the entire box/mask with a few coats of mold release.
Mix your 2-part silicone thoroughly, then pour it over your mask. When the silicone starts to thicken, use a spoon to scoop any that has pooled in the bottom of the box onto the high points of the sculpt so they have a thicker coating of silicone.

Prep for mother mold:
- Plaster bandages
- Mold release
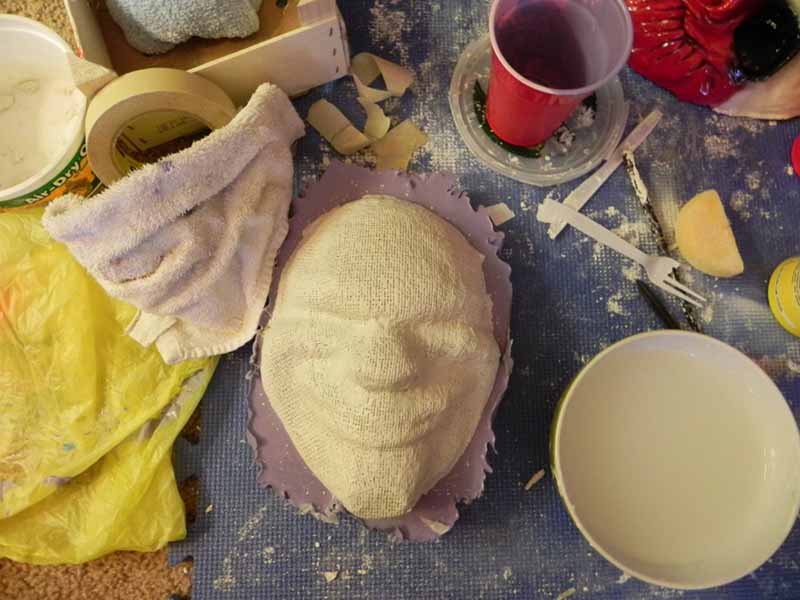
The mother mold will help hold the floppy silicone mold in place once you take it off the clay mask. This is a very important step, since a weak or flimsy mother mold will cause the cast to come out distorted or warped.
Pull the mold from the box and spray the silicone with mold release. Cover the entirety of the silicone mold with a layer of plaster bandages, adding extra in any places that are considered ‘indents’ (like the hollows under the cheeks, the divots in the lips, the undercuts of the eyes). When the mold is cleaned out and turned upside down, those places will need extra support to make sure they stay upright.
Prep for resin casting:
- Glue or mod podge
- Plastic wrap
- Old rags or towels
- 2-part resin (1 hour cure time)
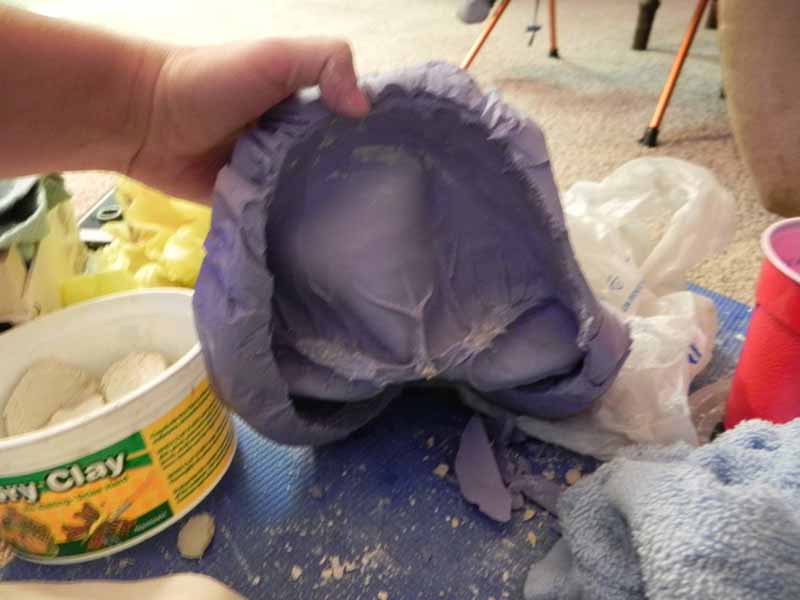
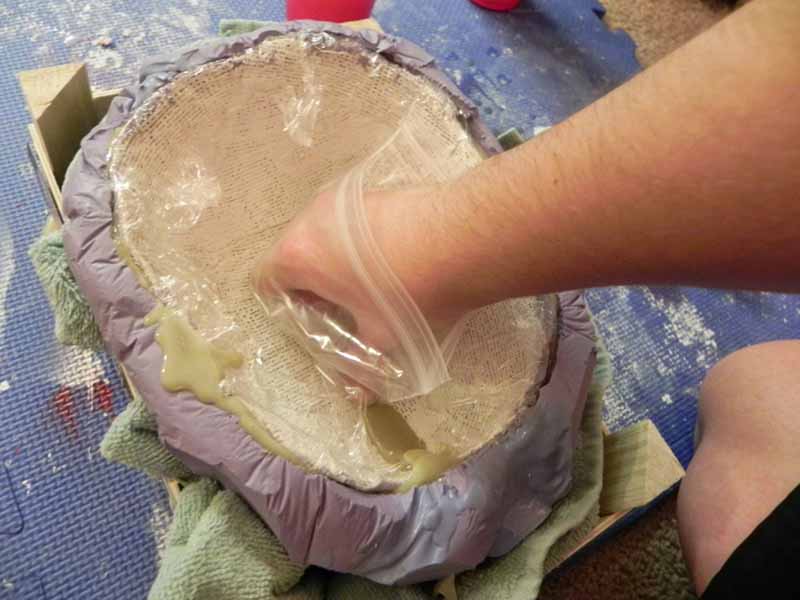
Once dry, remove the plaster mother mold and set it aside. Carefully peel the silicone mold away from the clay sculpt and clean it of any remaining clay using warm water and a sponge. Pull the clay off your plaster facecast. Paint glue/mod podge onto the plaster bandages, then cover it with plastic wrap. This will serve as the inside shape of the mask.
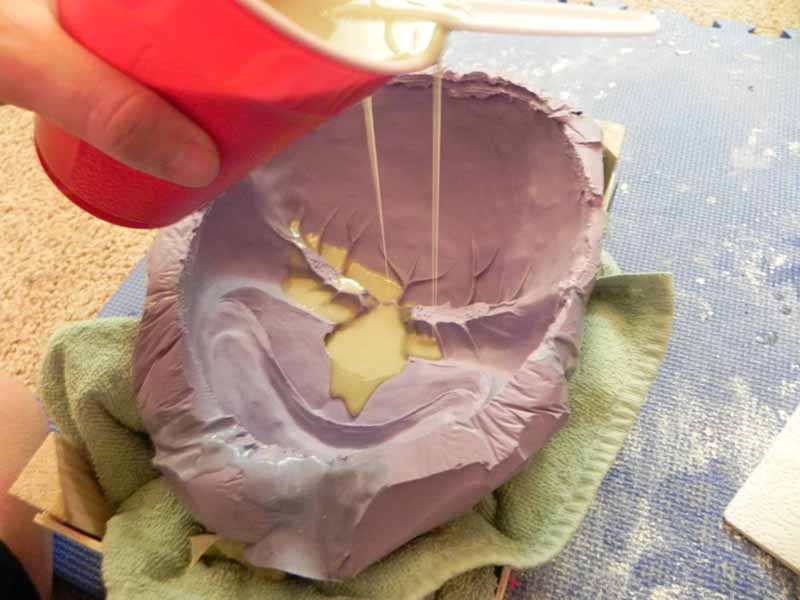
Pad the inside of your box/container with old rags or towels. Fit the silicone mold back into the plaster mother mold so that the silicone is supported, then nestle it in the towels so that the mother mold is supported. Spray the inside of the silicone mold with mold release.
Mix your resin, then start drizzling the mixture into the silicone mold, starting with the lowest points and crevices. Once they’re all filled in, pour in the rest of the mixture. Take your plastic-wrapped plaster facecast and press it into the back of the mold until the resin starts to cure and you no longer need to hold it down.
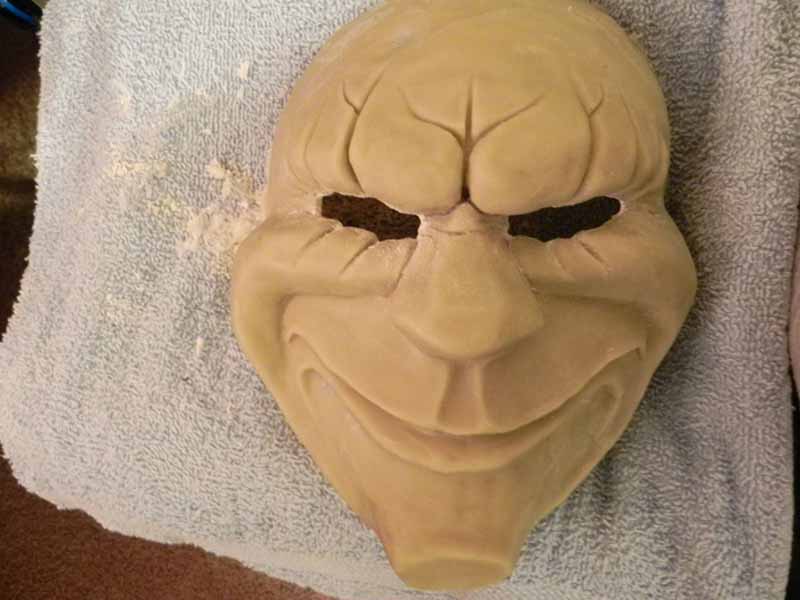
Once the resin has cured, remove all the plaster and silicone molds and clean up any resin flashing with a dremel.
Prep for painting:
- Primer
- Black acrylic paint
- White acrylic paint
- Spray paint
Start by laying down a primer to help your paint stick. Then use black paint to fill the deep crevices and anywhere that there are very obvious shadows. Paint over the rest of the mask with the white to create a bright base coat, then paint the rest of the mask with color.
Finishing up:
- Clear gloss coat
- Black stockings
- Rubber garage door seal
- Black elastic bands
- Hot glue
Once your paint is dry, spray the mask with a few coats of glaze finish to keep the paint from scratching and to make it glossy.
Stretch black stockings across the eye sockets on the inside of the mask, then glue around the edges to hold in place. Run a strip of garage door rubber seal around the outside edge of the mask and hot glue in place to create padding. Measure out enough elastic to wrap from one side of the mask, around the back of your head, to the other side of the mask and hot glue in place right above the ears. If needed, you can also add another elastic strap from the forehead over the top of the head and glue to the first elastic strap in the back.